

Getting your dishes packed successfully for a move all comes down to one thing: having the right materials before you even start. The real secret is creating a protective little nest for every single item using sturdy boxes, tons of cushioning like packing paper, and good, strong tape. This setup prevents things from shifting and bumping into each other on the road. Honestly, this prep work is the most critical step you’ll take to make sure your kitchenware arrives in one piece.
Gathering the Right Supplies for a Damage-Free Move
Before a single plate gets wrapped, you need to assemble your toolkit. This isn’t just about finding any old cardboard box; it’s about setting up a pro-level packing station that shields your fragile items from the inevitable jostling of a move. Think of it as an assembly line built for maximum protection.
Find a dedicated, clear space to work, like your dining room table. Lay out all your materials so everything is within arm’s reach. This simple move keeps you from feeling overwhelmed and transforms a potentially chaotic job into a smooth, streamlined process.
Your Essential Packing Materials Checklist
The supplies you choose have a direct impact on the safety of your dishes. It’s always tempting to cut corners here, but trust me, investing in quality materials is the best insurance policy against broken plates and shattered glasses.
Take a look at this quick-reference guide for the absolute must-haves.
| Material | Primary Use | Pro Tip |
|---|---|---|
| Small to Medium Boxes | For plates, bowls, and smaller kitchen items. | Keeps the weight manageable and prevents items on the bottom from being crushed. For special sizes, you can even look into custom box printing. |
| Dish Barrel Boxes | For your most delicate or valuable dish sets, stemware, and glassware. | These heavy-duty, double-walled boxes are the industry standard for a reason—they offer superior protection. |
| Packing Paper | Cushioning, wrapping individual items, and filling empty spaces. | Use it generously! Unlike newspaper, it’s ink-free. Crumple it up to create a soft bed at the bottom and top of every box. |
| Cell Dividers | Separating glasses, mugs, and stemware. | These cardboard inserts are absolute game-changers. They create individual cells that stop items from clanking together. |
| High-Quality Packing Tape | Securing the bottom and top of every box. | Don't skimp on tape. A strong seal is what gives your box its structural integrity and keeps it from falling apart mid-carry. |
Having these items on hand isn't just a suggestion; it's the foundation of a successful pack.
Professional movers know that the right supplies are half the battle. Using proper materials isn't just a good idea—it's a core strategy that dramatically reduces the risk of something getting broken.
The stakes are higher than you might think. Did you know that in the bustling moving industry, packing dishes correctly can slash breakage rates by up to 90%? Improper packing leads to over 15,000 dish-related incidents annually in the U.S. alone, costing households an average of $450 per claim.
Spending a little more on the right supplies upfront can save you a ton of money and heartache later. For more professional advice, definitely check out our guide on packing delicate items like a pro.
The Professional Method for Wrapping Plates and Bowls
Alright, let's get down to the nitty-gritty of how the pros pack dishes. We’re not just talking about tossing things in a box with some crumpled newspaper; this is a systematic approach that creates a shock-absorbent shield around every single piece. The whole idea is to build up cushioned layers and eliminate any empty space where things can shift, slide, and ultimately, break.
First things first, you need to create a generous cushion at the bottom of your box. Grab a sturdy, small-to-medium box and don't just lay a few sheets of packing paper flat on the bottom. You need to crumple several sheets to create a loose, airy bed that’s at least three inches deep. This is your first line of defense against the inevitable bumps and jolts of the move.
Wrapping Individual Plates and Bowls
The secret to protecting each piece is what we call the "rolling wrap" method. It’s simple and incredibly effective.
Lay a single dinner plate in the corner of a stack of two or three sheets of packing paper. Pull that corner of the paper over the plate, then place another plate right on top. Keep going like this, pulling a layer of paper over each new plate until you have a small bundle of three or four.
Once you have your stack, roll the entire bundle tightly in the rest of the paper. Make sure to tuck the sides in as you go, creating a snug, cushioned package. This technique is way better than wrapping each plate on its own because it puts multiple protective layers between each item, which stops them from clanking against each other.
This simple workflow is the core process for every box of dishes you pack.
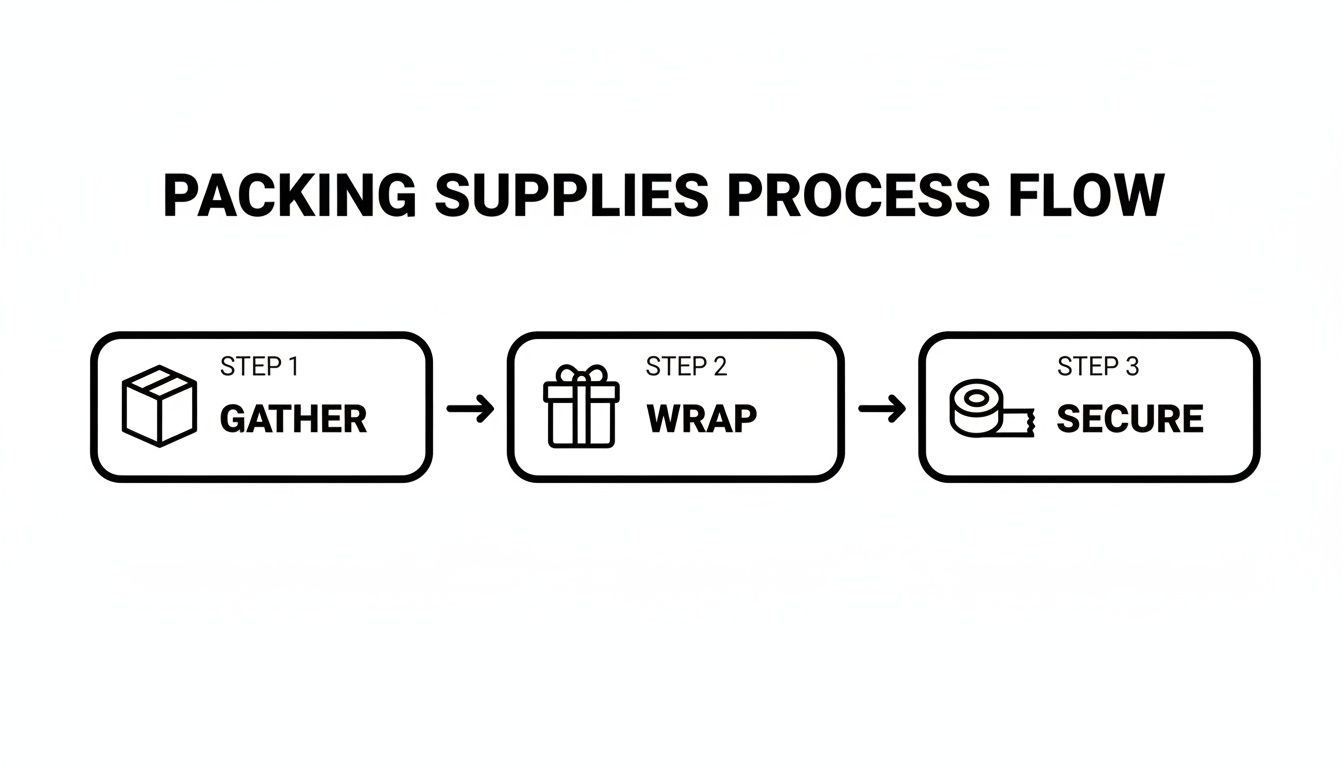
As you can see, successful packing always comes down to a sequence: getting the right supplies, wrapping with care, and securing everything tightly.
The Vertical Stacking Secret
Now for the most important—and slightly counterintuitive—tip that professionals live by: always pack plates vertically in the box. Stand them on their edge, just like you would with vinyl records. Never, ever lay them flat.
Stacking plates flat puts the entire weight of the stack on the poor plate at the very bottom. It becomes incredibly vulnerable to cracking under the pressure of every bump in the road.
When plates are positioned vertically, road vibrations and impacts are distributed across the stronger edges of the entire stack. This shifts the force away from the fragile, flat center of a single plate at the bottom and dramatically increases their chances of survival.
Arrange each wrapped bundle snugly side-by-side in the box. You want them packed tightly enough that they support each other and can't wobble or tip over. You can do something similar with bowls—wrap them individually or nest smaller ones inside larger ones (with paper in between, of course), then pack them on their sides. For more detailed tips on all sorts of breakables, you can learn more about how to pack fragile items for moving in our other guide.
Once a layer is full, don't leave any gaps. Stuff all the surrounding empty spaces with more crumpled packing paper. When you're done, the box should feel firm, with absolutely no room for things to move around. Finally, add another thick, crumpled layer of paper right on top before you seal the box up with good-quality packing tape.
Securing Your Most Delicate Glassware and Stemware
Of all the dishes you have to pack, stemware is usually what causes the most anxiety. I get it. With their fragile stems and paper-thin rims, things like wine glasses, champagne flutes, and fancy cocktail glasses need a special touch. This isn't the part of the job where you can take shortcuts; a little extra care here is what ensures your best pieces arrive intact, ready for that first celebratory toast in your new home.
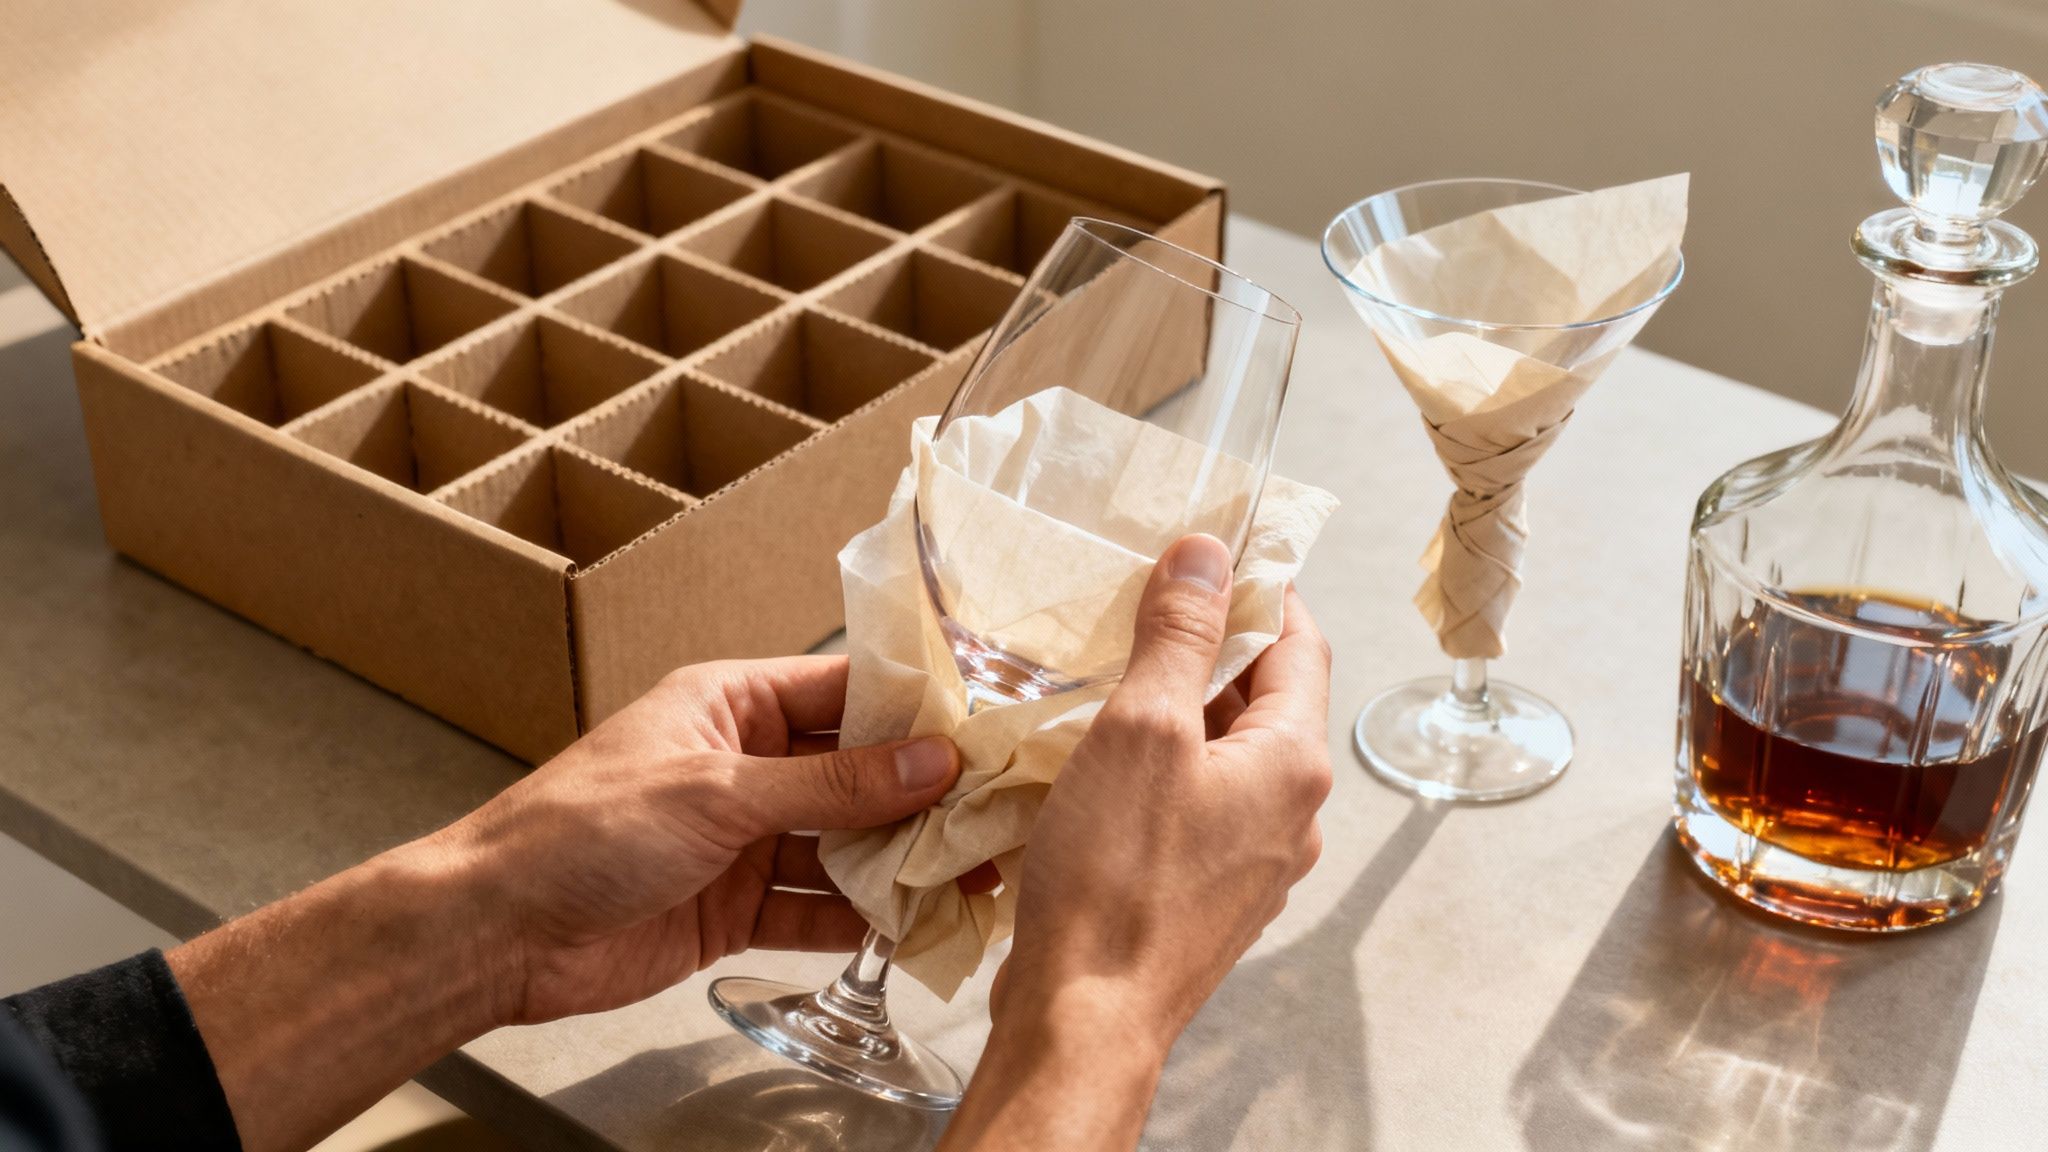
The whole goal is to support the weakest points—the stem and the base—while giving the entire piece a cushioned ride. Unlike a sturdy coffee mug or a heavy tumbler, you can't just wrap these and toss them in a box. Each glass needs individual attention to prevent snaps, chips, or outright shattering.
The Professional Glass Wrapping Technique
The best way to protect a wine glass is to work from the inside out and give that delicate stem plenty of extra support. This method is designed to neutralize the main points of stress while the box is in transit.
Start by gently stuffing a balled-up sheet of packing paper inside the bowl of the glass. It’s a simple step, but it’s crucial for absorbing shock from the inside and adding some structural integrity. Don't jam it in there; the paper should feel firm but not so tight that it could crack the glass.
Next, lay the glass on its side on a flat stack of packing paper. Roll it forward one full turn, then fold the paper over the base. As you continue rolling and get closer to the stem, fold the extra paper from the side over the stem itself. You're trying to create a thick, supportive cushion right where it's most needed. Finish rolling the glass completely and tuck in any loose ends.
When you wrap a wine glass, think of it like putting a cast on a broken arm. The paper needs to be snug, reinforcing the most fragile parts—especially where that thin stem meets the heavier bowl and base.
Using Cell Dividers for Maximum Protection
Once everything is wrapped, your glassware needs its own protected space. This is where cell dividers, sometimes called partition kits, are an absolute game-changer. These simple cardboard inserts create individual compartments inside a box, making it impossible for glasses to knock against each other.
Here’s how to use them the right way:
- Prep the Box: Grab a reinforced dish barrel or a sturdy small- to medium-sized box. Line the bottom with a generous layer of crumpled packing paper to create a soft landing pad.
- Insert the Dividers: Place the cell divider kit inside. It should fit snugly without being forced.
- Place Glasses Carefully: Put each individually wrapped glass into its own cell, rim-side down. This positions the strongest part of the glass—the rim—to absorb any bumps from the bottom. If you notice any small gaps, stuff them with a bit more paper.
This combination of individual wrapping and partitioned boxing is the industry standard for a reason—it works. If you're tackling everyday mugs, which have their own quirks, you can find more specific advice in our guide on the 10 packing steps for packing mugs for a move.
Handling Awkwardly Shaped Glassware
So, what about those other pieces, like wine decanters, glass pitchers, or large, artsy vases? The principles are exactly the same, just scaled up.
For something like a decanter, lightly stuff the inside with paper just as you would a wine glass. Then, wrap the entire piece generously with multiple sheets, paying close attention to the neck and any handles. Instead of a cell divider, you’ll create a custom "nest" for it in a box. Pack crumpled paper tightly all around it until it absolutely cannot shift an inch.
Boxing, Labeling, and Loading Strategies That Work
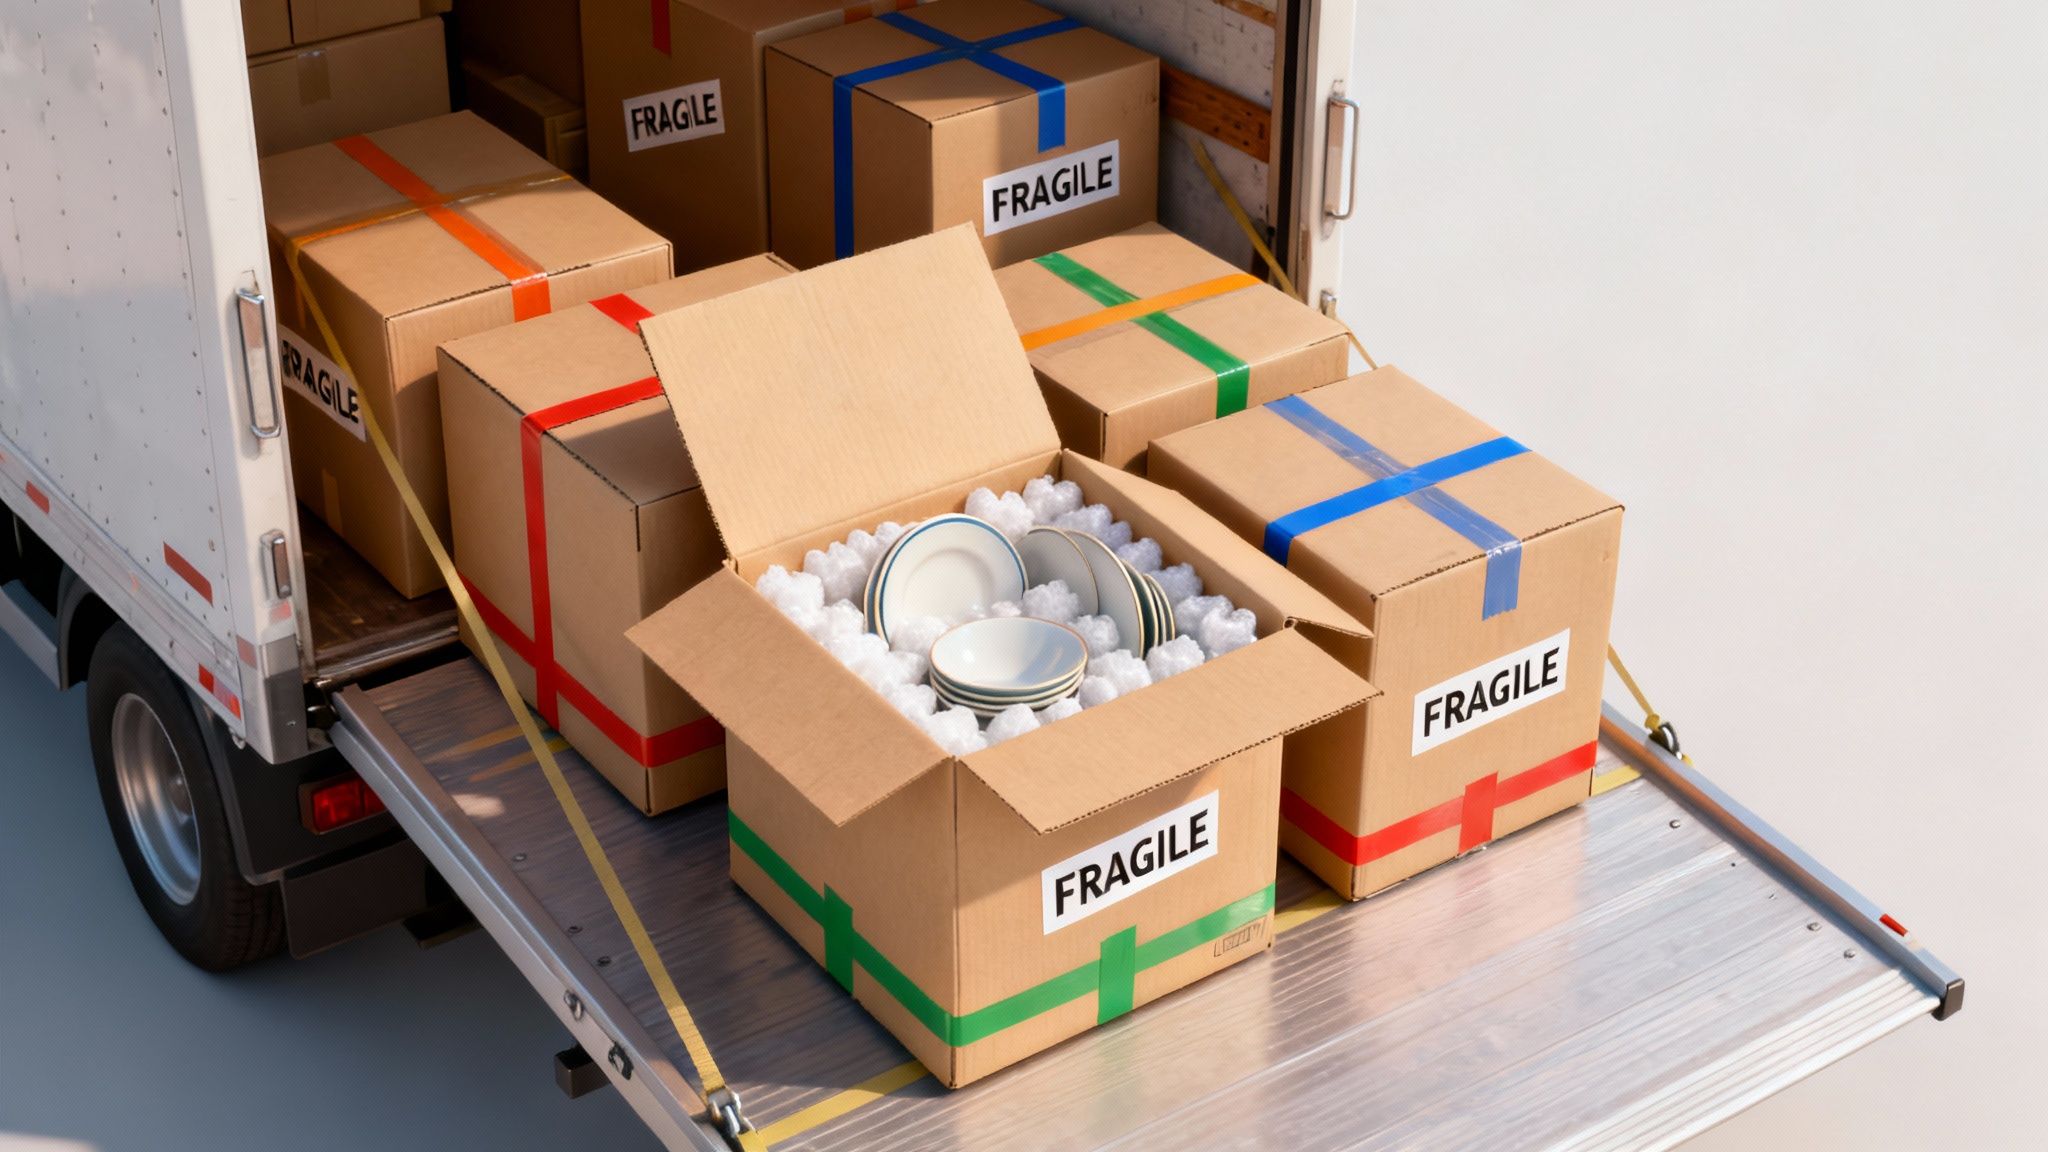
You can wrap every single dish perfectly, but it won't mean a thing if the box falls apart, gets tossed around, or ends up at the bottom of a stack of furniture. The final steps—boxing, labeling, and loading—are where a good packing job becomes a successful one.
Before a single plate goes into a box, flip it over and get out your packing tape. This is a non-negotiable first step. Reinforce the bottom seam with several strips, then add more in a cross-hatch pattern. This simple trick adds some serious structural integrity, preventing the bottom from giving out under the weight of your dinnerware.
Creating a Tight and Secure Pack
The golden rule for packing fragile items is simple: no movement. Once your dishes and glasses are nestled inside, your mission is to fill every single pocket of empty air.
Stuff crumpled packing paper into all the gaps—around the sides, between items, and on top. You want to create a dense, solid block. When you're done, seal the box and give it a gentle shake. If you hear or feel anything shifting, it needs more padding. That silence is the sound of success.
The Art of Smart Labeling
Good labeling is your best friend when you're exhausted and just want to find a coffee mug. It’s also a critical signal to your moving crew about what’s inside.
- Be Specific: "Kitchen" is okay, but "Kitchen – Everyday Plates & Bowls" or "Kitchen – Wine Glasses" is so much better. You’ll thank yourself later.
- Mark All Sides: Don't just label the top. Make sure you can identify the box's contents no matter how it’s stacked in a corner. At least two sides plus the top is the pro standard.
- Use Bold Markers: Grab a thick black or red marker and write "FRAGILE" in big, unmissable letters. Add "THIS SIDE UP" with arrows for good measure.
Think of a detailed label as a silent instruction manual for anyone who handles that box. It communicates value and tells them to treat the contents with care.
This level of detail is something you'll always see from professional movers. It’s been shown that professional packing techniques boost customer satisfaction by 88%, and something as simple as inventory tagging can slash mix-ups by 70%.
For a wider view of relocation strategies that go beyond just dishes, comprehensive guides like Moving Pack Track Unpack can be a huge help.
Loading Fragile Boxes on the Truck
Where you put these boxes on the moving truck is just as important as how you packed them. They should be among the last items to be loaded, never the first.
You want to start by building a solid base with heavy furniture and sturdy, non-fragile boxes. Your dish boxes can then be placed securely on top of this foundation, away from the edges where they might tip or get bumped. For a complete game plan, check out our guide on moving truck loading tips to make sure everything arrives in one piece.
Deciding When to Hire Professional Packers
Learning how to pack your own kitchen is a great skill, no doubt. But I've been in this business long enough to know that sometimes, the smartest move is knowing when to call for backup.
It might feel like a luxury to hand over the packing duties, but in some situations, it's actually a strategic investment. You end up saving a ton of time, sidestepping a world of stress, and sometimes, even protecting your wallet in the long run.
Ultimately, it comes down to a simple calculation: do you have more time or more pressure? If you're staring down a tight deadline for a new job across the state, every hour you'd spend wrapping glasses is an hour you desperately need for something else. A professional crew can get a kitchen boxed up in a morning—a job that could easily take an average person a whole weekend.
When Professionals Are a Smart Investment
Certain moves just scream for professional help. Think of a long-distance relocation. The more miles you travel, the more bumps in the road and the more hands touching those boxes. That's a lot of opportunities for something to go wrong. Pro packers don’t just show up with better boxes; they use specialized materials and, crucially, they're insured. That’s your financial safety net.
Hiring help makes a lot of sense in a few common scenarios:
- Irreplaceable Items: If you’ve inherited Grandma’s antique china or have a collection of delicate crystal, you want an expert’s touch. Packers are trained to handle high-value, sentimental items with the precision they deserve.
- Overwhelming Volume: For a big family with a kitchen that looks like a small restaurant supply store, the sheer number of dishes can be paralyzing. A team of pros can create a system and knock it out efficiently.
- Physical Limitations: Let’s be honest, packing is hard work. It's hours of bending, lifting, and standing on your feet. Bringing in professionals can save you from a sore back—or worse, a real injury.
The real value of professional packers isn't just in the physical labor; it's the peace of mind. You're paying for expertise, efficiency, and the confidence that your most fragile items are in good hands.
The True Cost of DIY Packing
Going the DIY route definitely saves you money upfront, but you have to look at the hidden costs. Your time is valuable. Those hours you spend wrapping and taping could be better used for transferring utilities, registering kids for school, or saying goodbye to neighbors.
And then there's the risk of breakage. If your packing job doesn't hold up and a few of your favorite plates or glasses break, the replacement cost can quickly add up to more than what you would have paid for packing services in the first place.
It's a personal call, and it all depends on your specific move. Take a hard look at your timeline, the value of your dishes, and your own stress tolerance. If you think getting some help might be the right move, you can always explore the benefits of hiring professional packers and movers to see how a dedicated team can completely change your moving experience.
Your Top Questions About Packing Dishes Answered
Even after you've mastered the basics, a few tricky questions always seem to surface when you're packing up a kitchen. Getting these final details right can be the difference between a smooth move and a box full of broken hearts (and plates). We've been in the moving business a long time, so we've heard them all.
Here are our straightforward, no-nonsense answers to the most common questions people ask. Think of it as the final piece of the puzzle to get this job done with confidence.
Can I Use Newspaper for Packing Dishes?
Honestly, while it feels like a clever way to save a few bucks, using newspaper is a classic rookie mistake. The ink is a nightmare—it smudges and transfers onto your dishes, leaving you with a greasy, black mess to scrub off later. No one wants to deal with that after a long move.
Even more importantly, newspaper is just too thin. It doesn't offer the kind of real cushioning you need. Professional packing paper is clean, unprinted, and designed to absorb the bumps and shocks of a moving truck. For your valuable dishes, it’s a tiny investment that saves you from a big headache and provides far better protection.
How Many Plates Can I Safely Pack in One Box?
The goal here is a secure box, not a completely stuffed one. For a standard small moving box (that's about a 1.5 cubic foot box), a solid rule of thumb is to bundle no more than 8-10 dinner plates together. Remember to stand them on their edge, never flat!
A box full of dishes shouldn't weigh more than 40 pounds. Any heavier and it's not just a struggle to lift; the bottom of the box is much more likely to give out right when you least expect it.
And please, don't forget this crucial step: fill every single gap with crumpled packing paper. This keeps everything snug and prevents the contents from shifting around in the truck. That shifting is what causes most breaks and cracks.
What Is the Best Way to Unpack Dishes Without Getting Overwhelmed?
Unpacking a kitchen can feel like chaos, but a little bit of a system goes a long way. First, completely clear off a large, sturdy surface like your countertop or dining table. This will be your command center.
Next, and this is the key, only open one box of dishes at a time. Start with the box you labeled "Everyday Essentials" — your main plates, bowls, and mugs. As you unwrap each piece, give it a quick once-over for any damage and put it directly away in its new cabinet. Whatever you do, resist the urge to unwrap everything at once. That's a fast track to a mountain of paper and a kitchen you can't even walk through. Box by box is the calm, manageable way to do it.
Should I Wash My Dishes Before I Pack Them?
Yes, one hundred percent. We always recommend washing and, most importantly, making sure every dish is completely dry before a single piece of paper touches it. This means everything is clean and ready to use the moment you unpack in your new kitchen.
Packing dirty or even slightly damp dishes is asking for trouble. It can lead to musty odors, mildew, and caked-on food that’s a real pain to clean off after it’s been sitting in a box for days or weeks. Taking care of this before you pack will save you so much time and frustration on the other side of your move.
When you need a moving partner who treats your belongings with the care they deserve, trust the experts at Family Movers Express LLC. From professional packing services to secure transport, we make your relocation seamless and stress-free. Schedule your move with us today!
Ready to protect your upcoming move?
Click Here to Fill Out Our Quick Form & Secure Your Instant Quote!
