
When you’re packing up your life, it’s easy to look at a stack of photos and think they’re just another thing to get in a box. But hold on. Unlike your sofa or that lamp you’re not sure you even like anymore, your photos are literally irreplaceable. They’re tangible pieces of your family’s story, capturing moments you can never get back.
Just tossing them into any old cardboard box is a recipe for disaster.
A moving truck is not a gentle, climate-controlled ride. Your precious memories will be subjected to wild temperature swings and humidity, creating the perfect storm for prints to warp, stick together, or even grow mold. Yikes.
And those standard packing materials? Regular cardboard boxes and newspaper are loaded with acids that will cause your photos to yellow and fade over time, permanently ruining them.
Learning how to pack photos for a move isn’t just about avoiding a few scratches. It’s about preserving a legacy. Every single picture holds a story, a person, or a milestone that’s worth protecting. Taking a few extra steps now ensures those stories survive the journey. It’s a small investment of time for a priceless return.
This process is a critical part of any smart relocation plan, right up there with the other big tasks. For more advice on getting ready for a big move, check out our complete guide to packing like a pro for an out-of-state move.
Investing in proper photo packing means you’re not just moving items from one house to another—you’re safely transporting your most cherished life moments.
The moving industry is a huge business. In the U.S. alone, it pulls in around $86 billion a year, and a big slice of that comes from packing materials. An average move can easily run you over $200 in supplies, and that budget absolutely needs to include archival-safe materials for your photos. It just goes to show that protecting valuables is a recognized and essential part of the moving process.
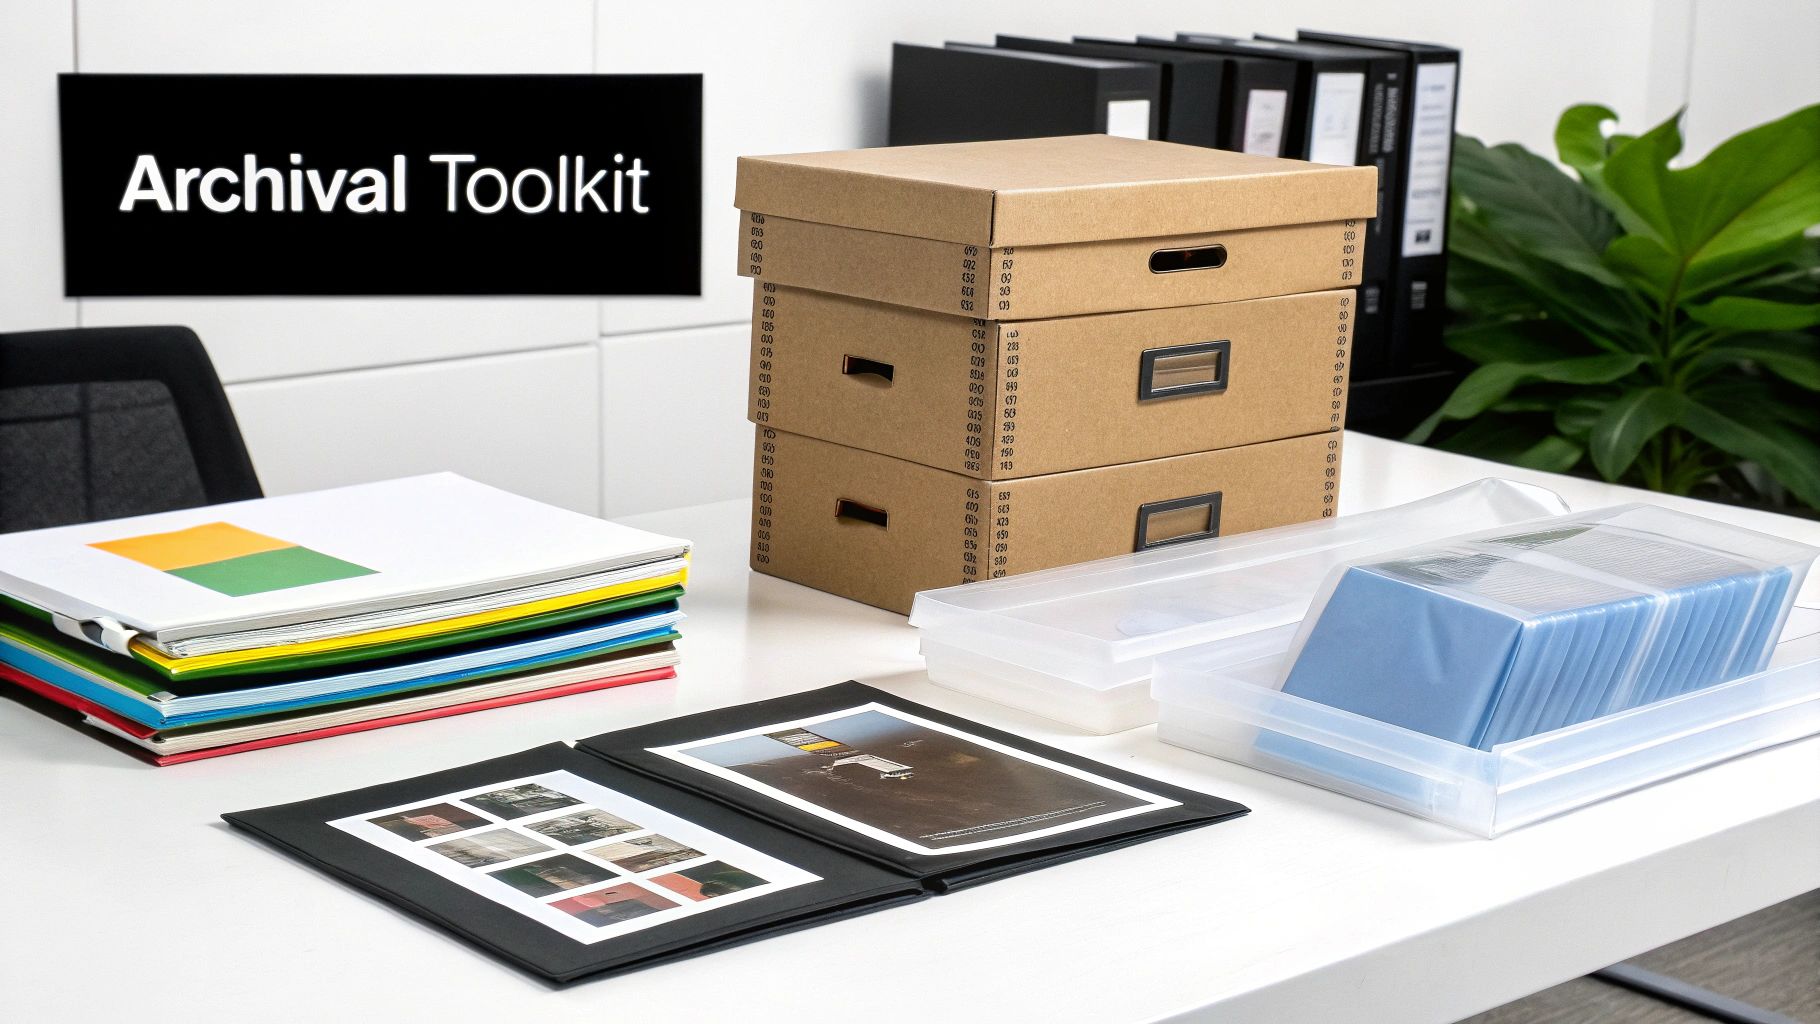
Before you even think about touching a single photograph, let’s talk about supplies. This is one of those times where what you use is just as important as how you use it. I’m not talking about grabbing any old box from the garage; this is about putting together a toolkit that will actively keep your memories safe.
Think of it this way: standard cardboard boxes contain acids and a compound called lignin. Over time, these chemicals leach out and can cause your photos to turn yellow and brittle. Using a regular moving box is like storing a precious silk scarf in a damp wooden crate—it might hold it, but it’s going to cause damage down the line. We need to do better.
The absolute foundation of your packing kit should be archival-grade materials. These are specifically made to be chemically stable, so they won’t harm your precious items over the long haul.
Here’s what your shopping list should look like:
Trust me on this: choosing the right materials is the single most important decision you’ll make. It’s the difference between just moving your photos and actively preserving them for the next generation to enjoy.
To really see the difference, let’s compare what you might be tempted to use versus what you should use.
| Item | Standard Moving Supply | Recommended Archival-Grade Alternative | Reason for a Better Choice |
|---|---|---|---|
| Boxes | Regular cardboard box | Acid-free, lignin-free photo box | Prevents chemical leaching that causes yellowing and brittleness over time. |
| Photo Sleeves | Ziploc or sandwich bags | Polypropylene or polyethylene sleeves | Chemically stable; won’t trap moisture or off-gas harmful chemicals. |
| Separators | Nothing or plain paper | Acid-free tissue paper | Prevents photos from sticking together and protects against surface abrasion. |
| Frame Protection | Bubble wrap directly on frame | Photo-safe corner protectors | Absorbs impact at the most vulnerable points, preventing chips and dents. |
This table makes it pretty clear—while standard supplies might seem fine for the short term, they pose a real risk to the longevity of your photos. A small investment in the right gear pays off big time.
Now, for the bigger, bulkier items. Packing framed art and heavy photo albums requires a few extra tools to make sure they arrive in one piece. The principles are similar to how professionals prepare fragile items during an office move, where protecting valuable assets is non-negotiable.
Round out your toolkit with these items:
Once you have this specialized toolkit ready to go, you’re set up to handle your photo collection with the professional-level care it truly deserves.
Before you even think about reaching for packing tape, the absolute best thing you can do is sort through your entire photo collection. Let’s be honest, a move is the perfect excuse to finally tackle that shoebox of old prints you’ve been putting off. Instead of just shifting a pile of chaos from one house to another, this is your chance to get organized.
Think of it as being the curator of your own memories, not just another moving chore. The whole point is to make your photos easier to find and enjoy once you’re settled in. This is the bedrock of learning how to pack photos for a move because it cuts down on the sheer volume of stuff and makes sure you’re only protecting what really counts.
First, create some logical groups. This doesn’t need to be some elaborate, library-level system. Just pick a method that makes sense to you.
As you sort, you’re going to come across photos that just aren’t keepers. Be ruthless. We’re talking about the blurry shots, the endless duplicates (nobody needs five pictures of the exact same sunset), and photos that just don’t spark anything anymore. Getting rid of these isn’t about erasing the past; it’s about making room for the memories that truly matter. It makes packing way easier and your collection far more meaningful when you’re done.
When you’re staring down a mountain of photos, it’s easy to get overwhelmed. My best advice? Handle each photo only once. Make an immediate decision: is it a keeper, a toss, or something I should digitize? This simple rule keeps you from getting stuck in a loop of indecision.
While you’re sorting, pull out the photos that are absolute treasures—the one-of-a-kind heirlooms and irreplaceable moments. These are the top candidates for digitization. Think of it as the ultimate insurance policy for your memories.
Scanning your most important photos protects them from any moving disaster you can imagine, from a leaky box to just plain getting lost in the shuffle. You can use a decent-quality home scanner for this, or if you have entire albums, a professional service can be a lifesaver. Once they’re digitized, those images are safe forever, whether they’re on a hard drive or stored in the cloud. Now that’s peace of mind.
Putting in this work upfront pays off in a huge way, not just for the move, but for years down the road. It’s all part of a bigger strategy for a smooth, organized move. For more tips that apply to your entire home, check out our broader guide on how to pack for a move. When you take the time to do this right, you’ll be greeted by a beautifully curated collection of memories, ready to be displayed and enjoyed in your new home.
Alright, you’ve done the hard work of sorting and curating your photo collection. Now it’s time to get those memories physically ready for the move. This is where your archival toolkit really comes into play.
We’re going to tackle this in two parts. First, we’ll deal with those stacks of loose prints and albums. Then, we’ll move on to the framed photos hanging on your walls. Each needs a slightly different approach to make sure they arrive in one piece.
Keep in mind, most moves in the U.S. happen between May and August, which also happens to be peak heat and humidity season. This makes careful packing absolutely essential. The temperature swings inside a moving truck can cause prints to curl, stick together, or even grow mold. Protecting against moisture is just as important as cushioning against bumps and drops.
For those shoeboxes full of prints and your treasured photo albums, the main goal is to prevent any bending, sticking, or chemical damage. The secret is all in how you stack them.
One of the biggest mistakes I see is people overfilling boxes to save space. With heavy items like photo albums, it’s so much better to use a few smaller boxes. If you can’t lift a box easily, it’s probably going to get dropped.
Framed photos, especially the ones with glass, are some of the most fragile things you’ll move. The strategy here is all about damage control and cushioning the frame itself.
Before you even think about wrapping, there are a few prep steps, which the infographic below lays out perfectly.

As you can see, grouping, culling, and scanning your photos first really streamlines the whole process. It makes sure you’re only packing what truly matters to you.
Once you’ve got your “keeper” frames ready, it’s time to wrap them up right:
Finally, slide that beautifully wrapped frame into a box that’s the right size—a mirror box is ideal for this. If you have any extra space in there, fill it with packing paper to get a nice, snug fit. Following these steps ensures every memory, whether it’s a loose snapshot or a framed portrait, is ready for a safe trip to its new home.
Your archival boxes are sealed up, but the job isn’t quite done. How you label, move, and eventually unpack your photos is just as critical as how you packed them in the first place. Think of a clear, detailed labeling system as your first line of defense against chaos on moving day.
Don’t just scribble “Photos” and call it a day. Be specific. Grab a thick, permanent marker and write on at least two sides of every box. A good label isn’t just for you—it’s a handling instruction for anyone who helps you move.
Consider using labels that leave no room for error:
This kind of clarity makes sure everyone, from your movers to your helpful friends, knows the contents are delicate and irreplaceable. It’s a simple move that prevents your box of memories from ending up buried under a stack of furniture.
Here’s a rule I tell everyone, and it’s non-negotiable: photo boxes travel with you. Never, ever put your most precious memories in the back of a moving truck. A truck’s cargo area can experience wild temperature swings and humidity spikes, creating the perfect storm for ruining photos.
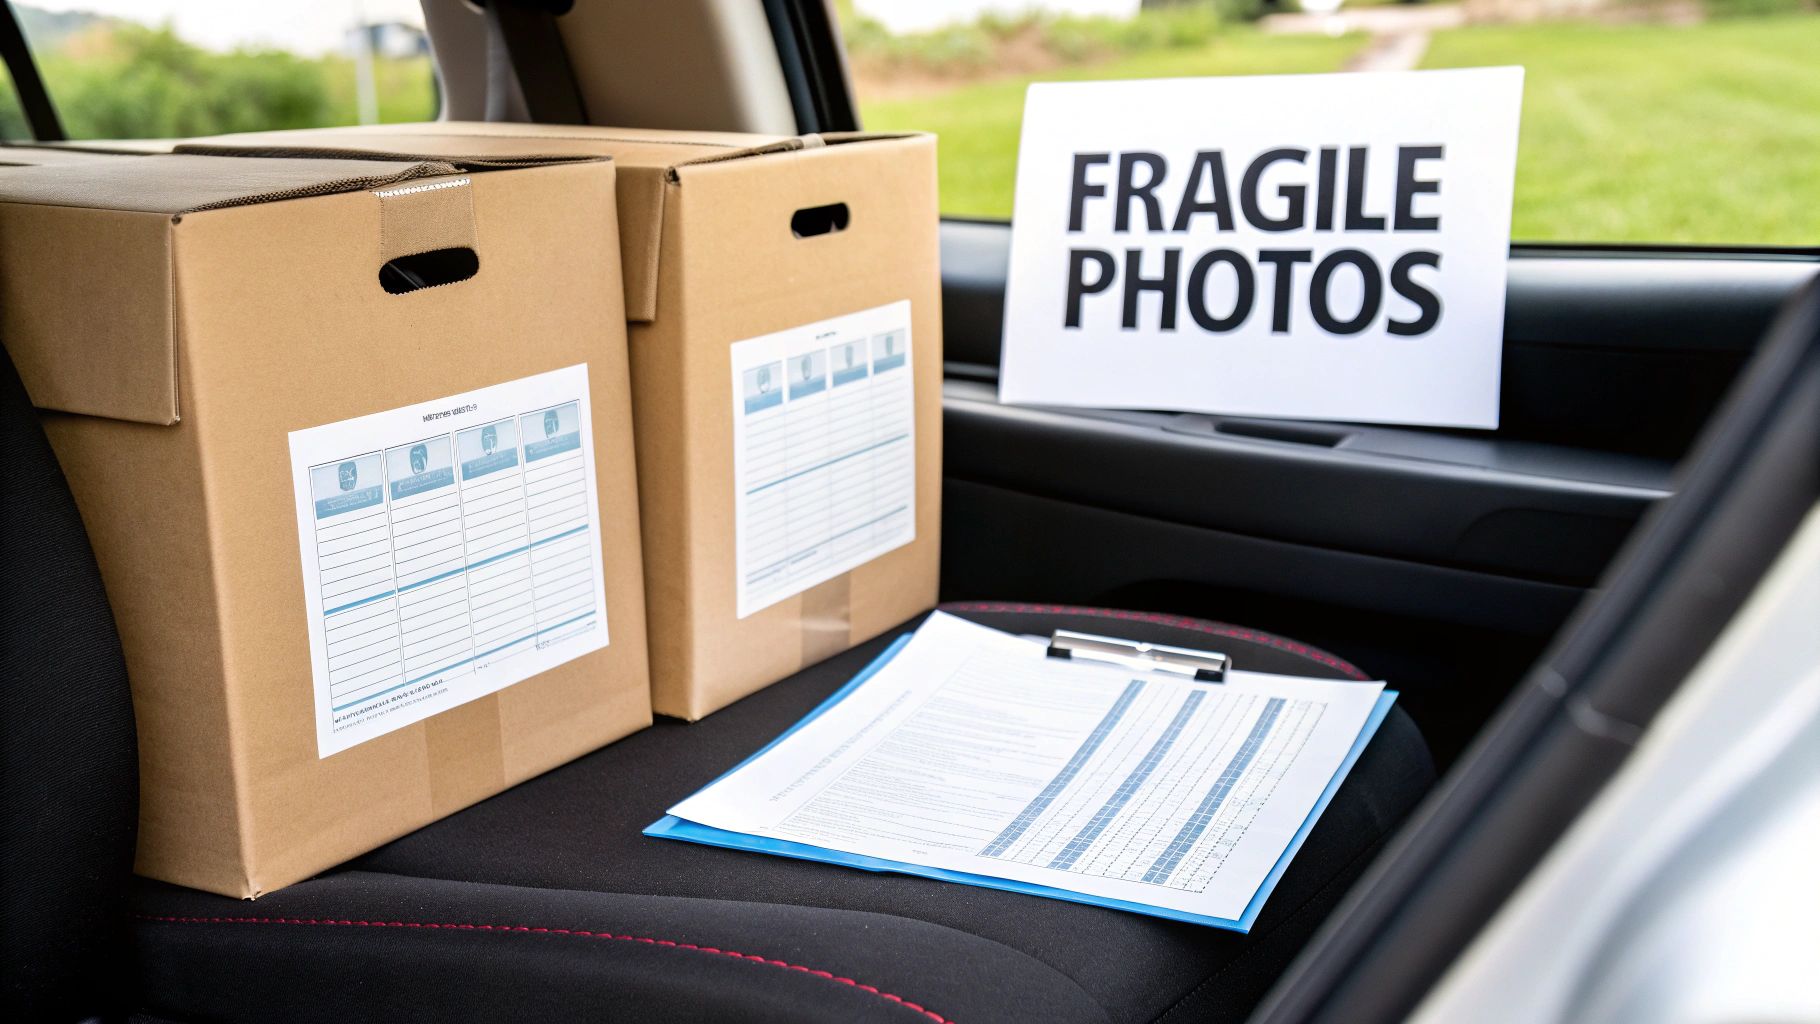
Instead, your photo boxes deserve the VIP treatment. Treat them like you would your jewelry, important documents, or laptop. They belong in the climate-controlled cabin of your personal vehicle, safe from the risk of being crushed, overheated, or frozen. This one decision eliminates the biggest dangers your photos will face during the move.
Your moving truck is for furniture; your car is for memories. Keeping photos with you guarantees their safety from heat, cold, and the general chaos of the main move.
Once you’ve made it to your new home, fight the urge to rip open the boxes right away. Let them sit in the room where you plan to store them for at least 24 hours. This gives the photos and their containers time to acclimate to the new environment’s temperature and humidity, which helps prevent condensation or sudden warping.
When you’re ready, set up a dedicated unpacking zone. A clean, dry surface like a large dining table or a cleared-off kitchen island is perfect. This gives you a safe space to sort through everything without risking spills or damage.
Getting these final steps right is crucial for a smooth transition. For more guidance on settling in, check out our list of the 10 crucial steps to take following a move.
A final pro tip: document the condition of framed photos before you even pack them. Taking pictures provides invaluable evidence if you need to make an insurance claim later. Research actually shows that people who photograph their belongings before a move not only feel less stress but also unpack more efficiently. This careful approach, from labeling to final placement, ensures your memories complete the journey just as safely as they started.
Even with the best plan, specific questions always come up when it’s time to pack photos. It’s one thing to deal with a shoebox full of modern 4×6 prints, but what about that fragile, sepia-toned portrait of your great-grandmother? Let’s get into some of the most common worries I hear from people.
When you’re handling extremely old or delicate photographs—like daguerreotypes or tintypes—you’ve got to be extra careful. My best advice? Don’t touch their surfaces at all. Handle them by the edges, and if you can, wear clean cotton gloves. Forget standard plastic sleeves; for these, you’ll want to invest in specialized archival enclosures.
These historical treasures are incredibly sensitive to their environment. The main goal is to keep them stable and protected. That means wrapping them carefully and placing them in a small, well-padded archival box that you keep with you during the move, not in the back of the truck.
One of the biggest questions I get is about moving insurance. “Are my photos covered?” The short answer is, probably not in the way you’re hoping. Standard moving valuation, which is the basic coverage movers are required to offer, usually pays out by weight—often around $0.60 per pound. Your entire box of irreplaceable family history might only be valued at a few bucks.
Do not rely on standard moving insurance to cover the sentimental or monetary value of your photographs. Always check your homeowner’s policy or purchase a separate rider for high-value items if needed.
This is exactly why having a digital backup is non-negotiable. When you’re picking a cloud storage service for your scanned images, make sure it checks these boxes:
Even with perfect packing, accidents can happen. If a frame breaks or a photo gets damaged during the move, the key is not to panic. First, carefully assess the situation without making it worse.
If a frame’s glass shatters, put on some gloves and carefully pick out the largest pieces. For the tiny shards, use a very soft brush to gently whisk them away from the photo’s surface. Be gentle—you don’t want to add scratches to the problem.
For a photo that’s been torn or creased, fight the urge to fix it with regular tape. I can’t stress this enough: that tape will yellow over time and cause permanent damage. Instead, carefully place the photo in a protective sleeve and find a professional photo restoration expert. They have the right tools and skills to make near-invisible repairs, saving a memory you might have thought was lost for good.
When it comes to moving your most precious belongings, you need a team you can trust. Family Movers Express LLC handles every item with the care it deserves, ensuring your memories arrive safely. Let our professional team manage the heavy lifting so you can focus on your new beginning. Get a free quote for your move today!
Ready to protect your upcoming move?
Click Here to Fill Out Our Quick Form & Secure Your Instant Quote!