
Before you even dream of wrapping a single lamp, let’s talk about what you’ll need to pack lamps. Honestly, this is the most critical part of the whole process. Grabbing old grocery bags or thinking newspaper will do the trick is a surefire way to end up with a broken lamp. Taking a moment to gather the right supplies isn’t just a good idea; it’s the difference between a smooth pack and a box full of shattered glass.
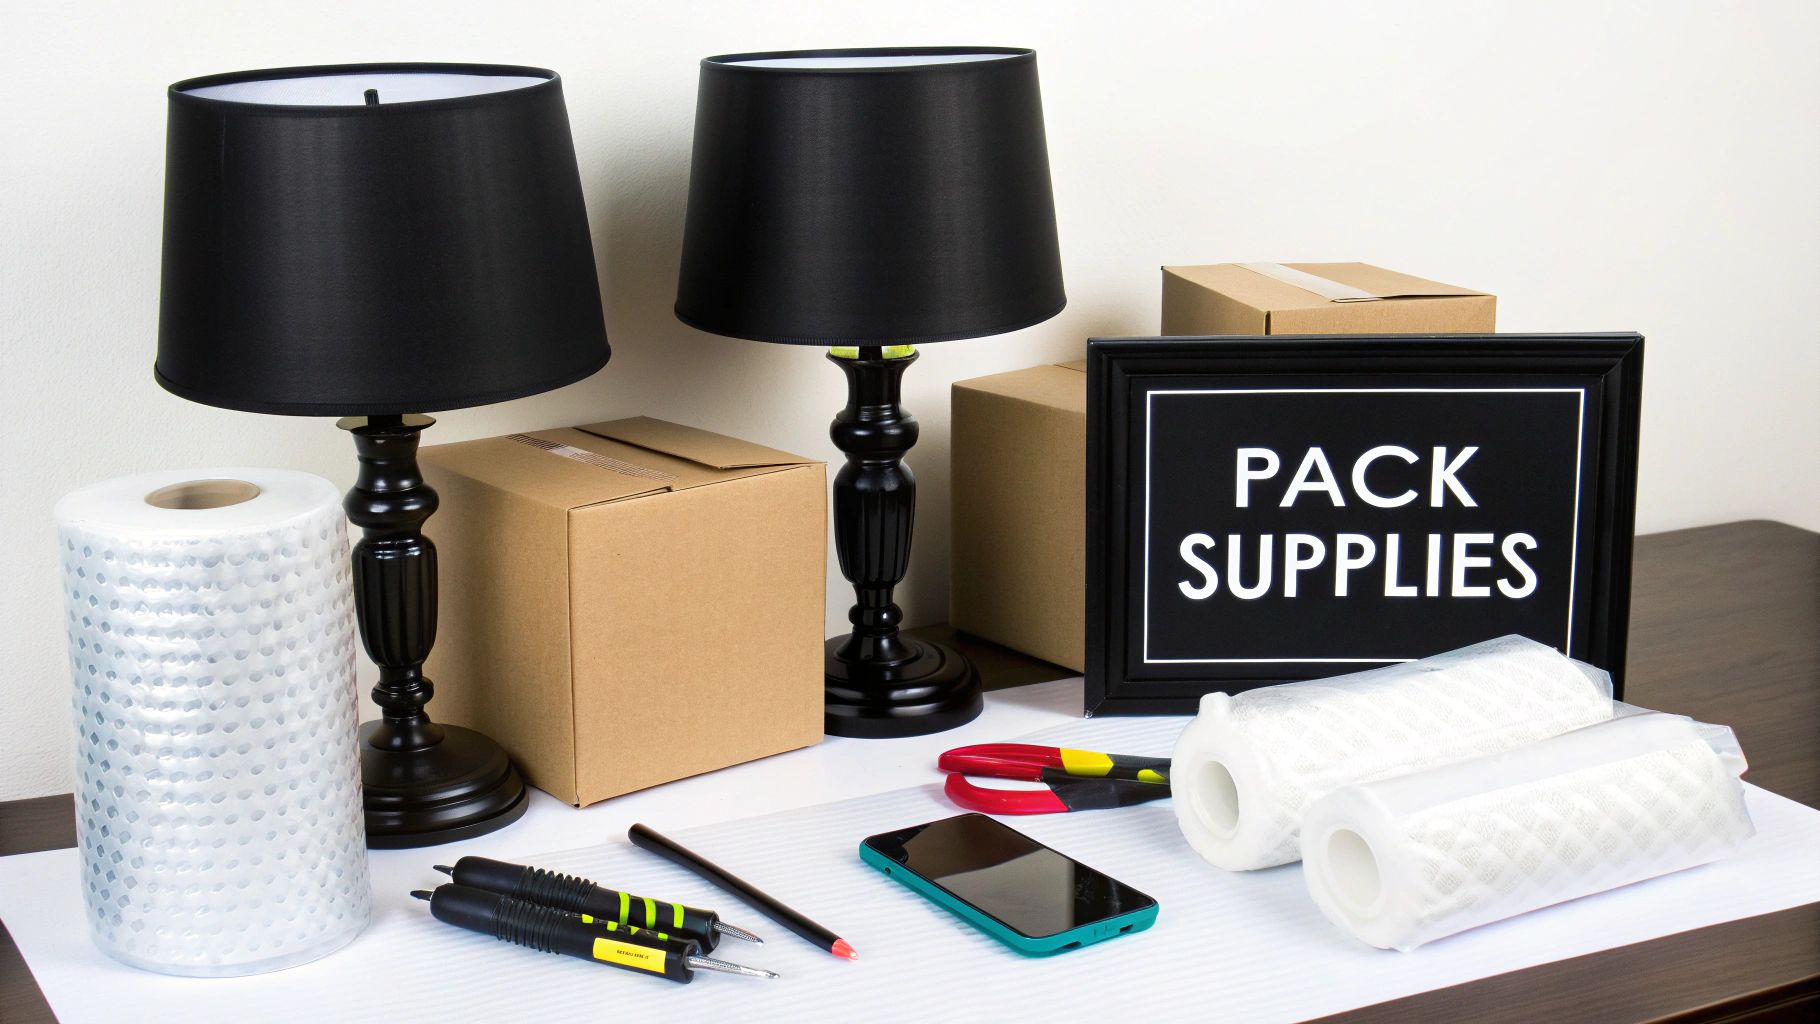
Think of packing like cooking a great meal—you can’t start until you have all your ingredients measured out. For something as fragile and awkwardly shaped as a lamp, having a specific toolkit ready to go will protect every delicate piece, from the base to the finial.
Your main goal here is to build a protective cocoon around each separate part of the lamp. Remember, not all cushioning materials are the same, and using the right one for each component is what really makes a difference.
The right materials are in high demand for a reason. The global market for moving supplies is expected to jump from $3.2 billion in 2025 to over $4.5 billion by 2035. It makes sense when you consider cardboard boxes are used in roughly 70% of all household moves.
To make it even easier, here’s a quick checklist of everything you’ll need and why.
| Material | Primary Use | Pro Tip |
|---|---|---|
| Medium & Large Boxes | Separately housing the lamp base and shade. | Measure your lamp base and shade first to get boxes that aren’t too big or too small. |
| Bubble Wrap | Protecting glass/ceramic bases and delicate components. | Use the kind with larger bubbles for heavy bases; smaller bubbles are great for harps and finials. |
| Packing Paper | Wrapping shades and filling empty box space. | Crumple it up to create supportive “nests” inside the box to stop items from shifting. |
| Packing Tape | Securing boxes and bubble wrap. | Apply tape in an “H” pattern on the top and bottom of boxes for maximum strength. |
| Permanent Markers | Labeling boxes as fragile and indicating contents. | Use a different color, like red, to make your “FRAGILE” labels stand out immediately. |
| Small Plastic Bags | Keeping small hardware like harps and finials together. | A simple Ziploc bag works wonders. No more lost pieces! |
Having these items ready to go makes the job feel less like a chore and more like a simple, methodical task.
Pro Tip: Grab a small plastic Ziploc bag before you start. As you take your lamp apart, you’ll have little pieces like the finial (the decorative knob on top) and the harp (the metal U-shaped piece). Tossing them in the bag and taping it securely to the wrapped lamp base is the best way to make sure nothing gets lost in the chaos of moving.
Getting organized with your supplies first is the key to making sure your lamps arrive at your new place in one piece, ready to light up your new rooms. For a more comprehensive list of what you’ll need for your entire move, take a look at our complete guide on how to pack for a move.
Tossing a fully assembled lamp into a moving box is just asking for trouble. Seriously, it’s one of the fastest ways to guarantee you’ll be shopping for a new one. A successful move starts with a little bit of method, turning one large, awkward item into several smaller, manageable pieces that are way easier to protect.
This isn’t just about making things fit in a box; it’s about isolating each part so they can’t duke it out during transit. The heavy base can easily crack a delicate shade, and a loose cord can scratch up a nice finish. Taking a few minutes to break it down is the single best investment you can make in getting your lamps to your new home in one piece.
Before you unscrew a single thing, grab your phone. Snap a few quick photos of the lamp from different angles, paying close attention to how the harp and shade are attached. This five-second trick is an absolute lifesaver, creating a visual cheat sheet that eliminates all the guesswork when it’s time to put it all back together.
Always start from the top and work your way down. This logical sequence makes sure you handle the most delicate parts first and don’t miss anything.
This same careful, methodical mindset works wonders for other fragile items, too. The principles of isolating delicate parts are a lot like the ones we cover in our guide on the best packing steps for mugs, where every piece gets individual attention.
Pro Tip: Bagging and labeling small hardware isn’t just a suggestion; it’s non-negotiable. We’ve heard from so many DIY movers—more than 30%, in fact—who have trouble with reassembly simply because they lost a tiny but critical part like a finial or screw.
While the top-down method is perfect for most table lamps, other styles need a slightly different approach.
By breaking each lamp down into its core components, you’ve already won half the battle. You’re no longer looking at one big, fragile object. Instead, you have a simple collection of individual parts—base, shade, bulb, and hardware—each ready for its own custom wrapping and protection.
Now that you’ve got your lamp taken apart, it’s time for the most critical step: the wrapping. This is where you turn that pile of vulnerable pieces into a well-protected package, ready for the jostling of a moving truck. The secret is to treat each part differently—a one-size-fits-all approach just won’t cut it here.
This visual guide shows the proper order for taking apart your lamp to prepare each piece for wrapping.
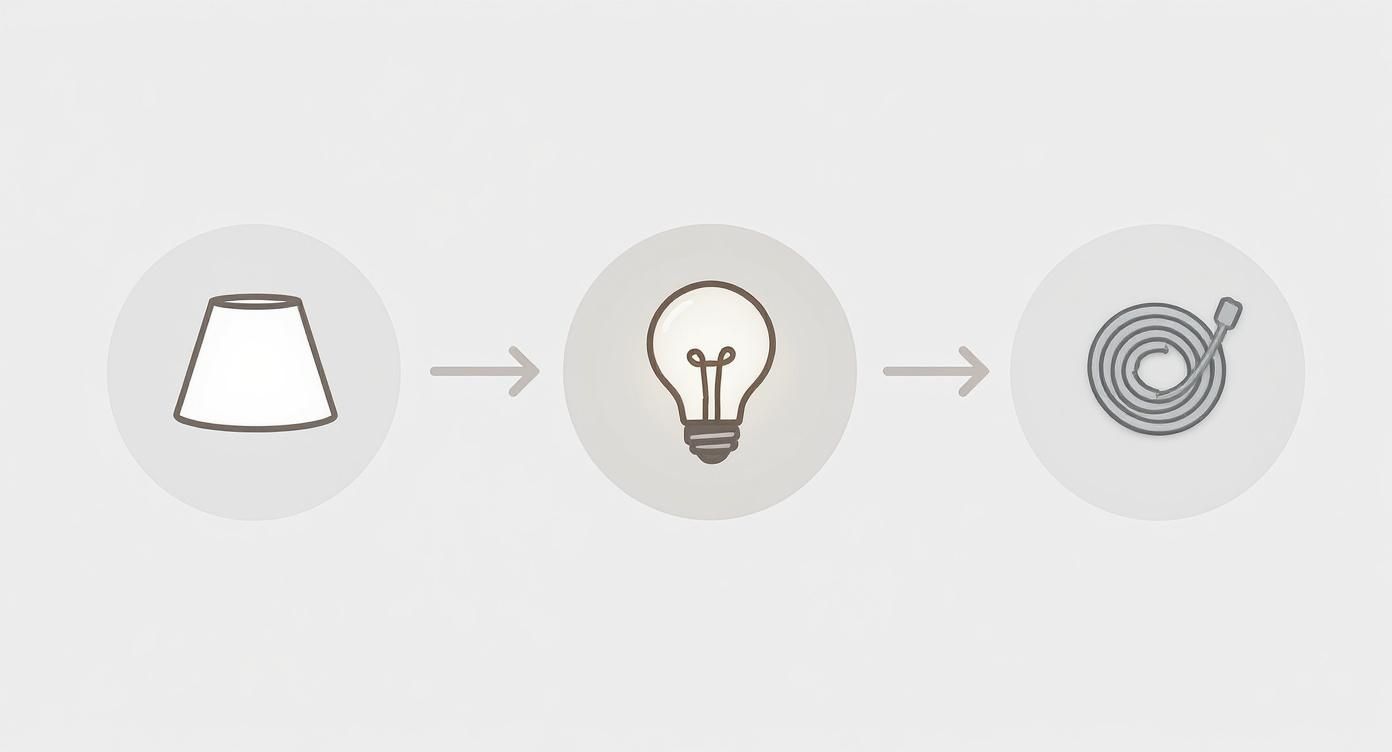
Following this top-down disassembly process ensures you handle the most delicate parts first and prepares each component for its own protective wrapping.
The lampshade is, without a doubt, the most fragile piece of the puzzle. It dents, stains, and tears with shocking ease, so it needs some extra TLC. Here’s a big tip from the pros: Never wrap a lampshade directly in bubble wrap. That plastic can trap humidity, and the air pockets can actually leave permanent impressions on silk or linen shades. Not good.
Instead, stick to this foolproof method:
The lamp base is the workhorse, but it’s often made of unforgiving materials like ceramic, glass, or porcelain. A solid bump can mean a crack or a full-on shatter. Your job here is to create a thick, shock-absorbing cushion around the entire thing.
Start by wrapping the base in several layers of bubble wrap. Don’t be shy with it! Pay extra attention to any carved details or sharp corners. Once it’s fully covered, secure the bubble wrap tightly with packing tape. If the cord is permanently attached, coil it up and tape it securely against the wrapped base. You want to make sure that metal plug isn’t free to scratch up the finish during the move.
Key Takeaway: How you pack matters immensely. We see it all the time—lamps are consistently one of the top five most frequently damaged items in a move. When folks pack themselves, about 5% of lamps suffer some kind of damage. A huge reason for this is that almost 40% of people try to save money by reusing old, weak boxes that just can’t handle the job.
In the whirlwind of a move, it’s incredibly easy for small bits like the finial, harp, and light bulb to vanish into thin air. A little organization here will save you a headache later.
For Hardware (Harp and Finial):
For the Light Bulb:
This careful, piece-by-piece approach is the same philosophy we apply when we prepare fragile items during an office move. Whether it’s a priceless vase or a simple desk lamp, giving each component individual protection is the key to preventing costly damage and ensuring everything arrives in one piece.
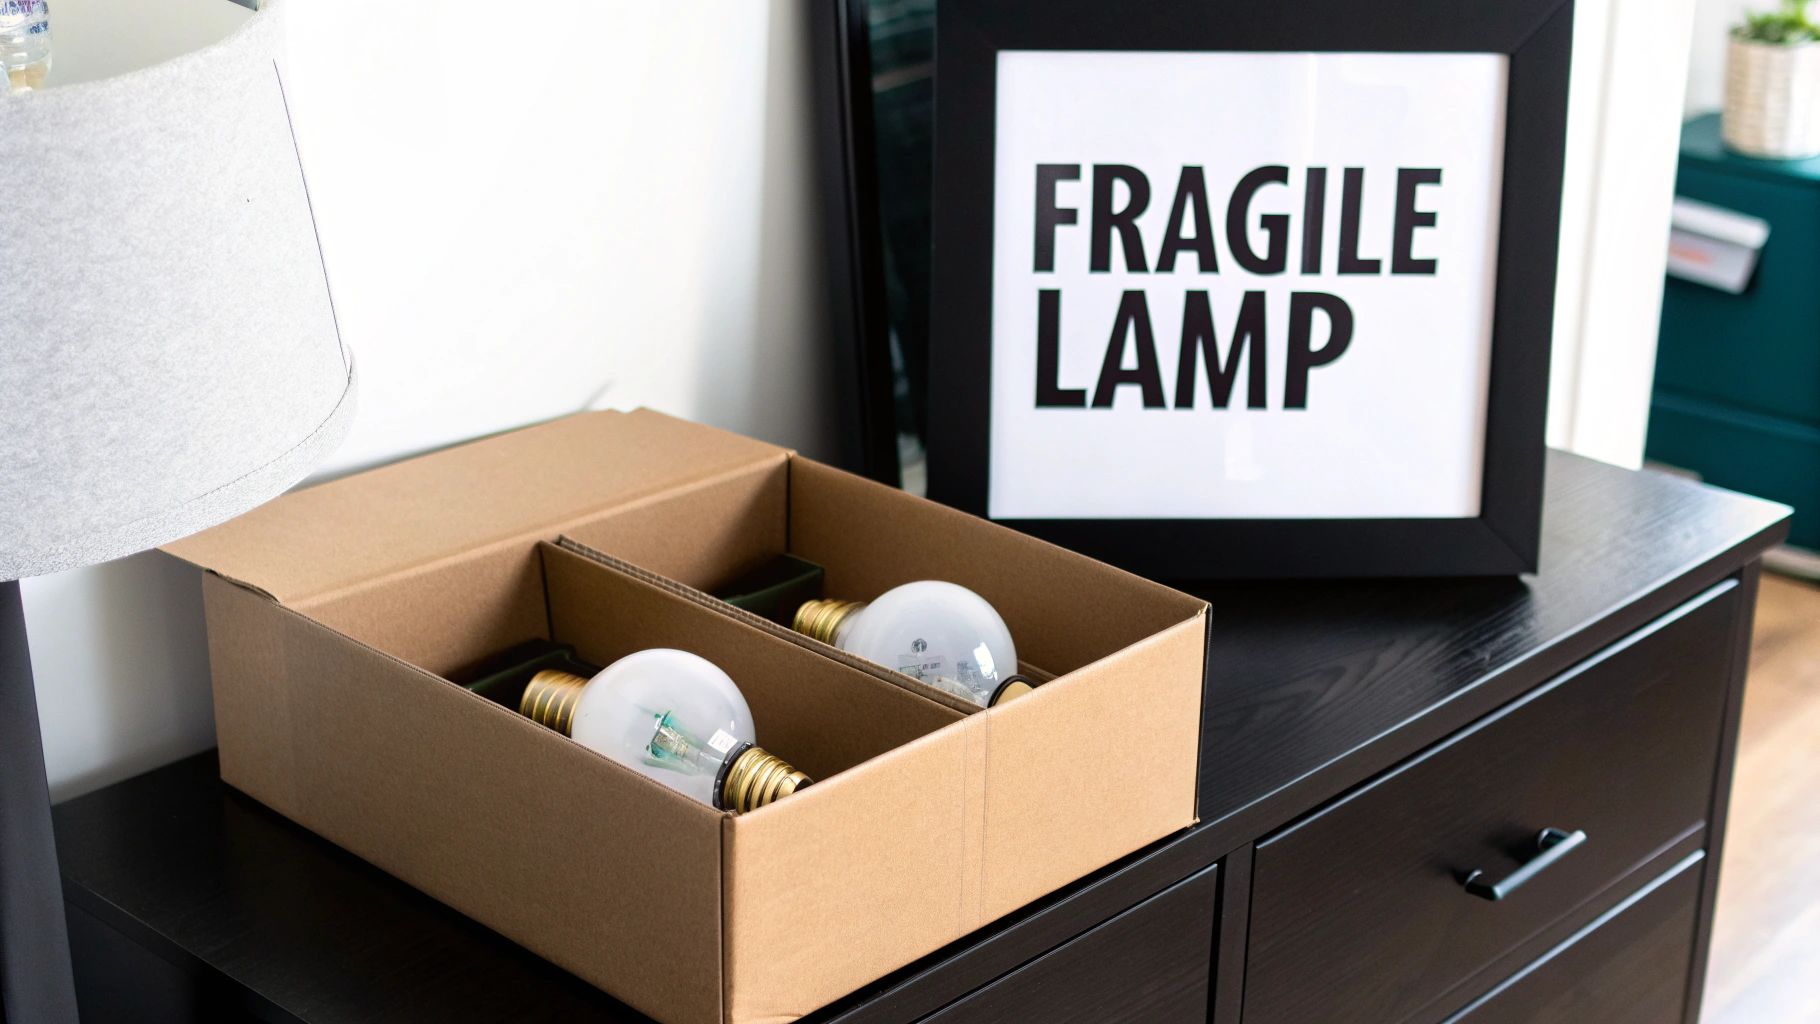
How you box up your lamps is every bit as critical as how you wrap them. You can do a perfect job wrapping everything, but it can all be undone in a split second if a box is packed poorly or gets mishandled on the truck. This final step is all about creating a secure, clearly marked fortress for your fragile lighting to make sure it survives the trip without a scratch.
Think of the moving box as more than just a container—it’s a custom-fitted suit of armor. Each piece, the base and the shade, needs its own dedicated box. Getting the size right is key; a box that’s too big lets things slide around, while one that’s too small creates pressure points that lead to cracks and dents.
Once you’ve got the right boxes, your next job is to engineer a shock-absorbing nest inside. This is what keeps the lamp parts from shifting around, which is hands-down the number one cause of damage during a move.
When you think you’re done, seal the box and give it a gentle shake. If you feel or hear anything moving inside, open it back up and add more cushioning. This careful approach is one of the five keys to packing your belongings for a long-distance move, where items are jostling around for much longer.
Clear labeling isn’t just a friendly suggestion; it’s a non-negotiable instruction for anyone handling the box. Your labels need to be big, bold, and impossible to miss. Grab a thick black or red permanent marker and write on at least three sides of each box:
This simple step clearly communicates what’s inside and how to handle it, whether it’s you, your friends, or our crew at Family Movers Express. When you consider that up to 25% of moving damages are due to improper packing, you can see why clear communication is everything.
Pro Mover Insight: Always put lamp boxes on the truck last and take them off first. They should never sit directly on the floor of the moving truck where they can get crushed. Instead, find a secure, flat spot for them, like on top of a sturdy dresser or a stack of other well-secured, flat boxes.
By dedicating a little extra time to boxing and labeling your lamps correctly, you’re not just packing—you’re setting them up for a successful, damage-free arrival at your new home.
While this guide should get you ready to pack most of your standard lamps, some lighting fixtures just demand a level of care that goes way beyond DIY. Knowing when to step back and call in the experts is a smart move, protecting your most valuable or sentimental pieces from damage.
Sometimes, the lamp itself makes the decision for you. Certain types of lighting are just plain risky to move if you haven’t been trained to handle them.
It’s not always just about the lamp’s design. Your own circumstances can make professional help a really wise investment. If you’re staring down a tight deadline or just feel completely swamped by the sheer volume of packing, letting experts handle the trickiest items frees you up to focus on everything else.
And honestly, peace of mind is a huge factor.
When you hand your precious items over to a team like Family Movers Express, they’re not only being handled by trained specialists, but they’re also covered by insurance. This takes away the personal risk of a costly—and heartbreaking—accident involving a family heirloom or an expensive designer piece. If the thought of a broken lamp is more stressful than the cost of hiring help, it’s time to make the call.
A professional packer’s skill isn’t just about knowing how to use bubble wrap; it’s about understanding load-bearing points, pressure spots, and the physics of how things shift inside a moving truck. That’s the knowledge that keeps a simple bump in the road from becoming a disaster in a box.
Ultimately, deciding to hire movers comes down to balancing your time, the risk involved, and the cost. For your most treasured and difficult lighting, the expertise and security you get from a professional service are often worth every penny. You can explore the full advantages of hiring professional movers to see if it’s the right choice for your move.
Even the most organized move has its quirks. When you’re dealing with something as fragile and oddly shaped as a lamp, a few questions always seem to surface. We’ve packed thousands of them over the years, so here are some quick answers to the challenges we see people run into most often.
You definitely can, but there’s a right way and a wrong way to do it. The technique is called nesting, and it’s a great space-saver for shades that have a similar shape but are different sizes.
Start by wrapping the biggest lampshade in a clean sheet of packing paper. Set it right-side-up inside a box that has some cushioning on the bottom. Then, wrap the next size down and gently slide it inside the first one. The key is to put a buffer between them—a little crumpled paper or a single layer of bubble wrap works perfectly so they aren’t actually touching. Keep going with smaller shades, always adding that protective layer.
Crucial Tip: Never, ever force a shade to fit. If you feel any resistance or it seems to be pressing on the one below, stop. They need their own boxes. You’re aiming for a loose, cushioned fit, not a tightly packed stack.
This is where you really need to up your game. Glass and crystal shades don’t bend or give; they just shatter. Your mission is to create a totally rigid, shock-absorbing cocoon inside that box.
For glass or crystal, follow these steps exactly:
Think of it like you’re building a custom-molded cradle. When you’re done, the shade shouldn’t be able to move at all, even if the box gets jostled.
If you have them and they’re in good shape, absolutely! That original box was designed by the manufacturer to protect that specific lamp during its bumpy journey from the factory to the store. They often come with custom cardboard or foam inserts that are molded to hold the base and shade perfectly, which is a level of protection that’s tough to replicate with your own materials.
But here’s the caveat: don’t trust an old, tired box. If the original packaging is crushed, damp, or falling apart at the seams, it’s more of a liability than a help. In that case, you’re much better off using a brand new, high-quality moving box. A weak box is sometimes worse than no box at all.
Feeling like packing up all your fragile decor is a job you’d rather not tackle? The pros at Family Movers Express LLC handle everything from delicate lamps to antique chandeliers with the care they deserve. We’ll make sure they arrive at your new home in one piece. Get your free moving estimate today!
Ready to protect your upcoming move?
Click Here to Fill Out Our Quick Form & Secure Your Instant Quote!