

The real secret to a move that doesn’t make you want to pull your hair out? It’s all about how to pack, before a single roll of tape is used. A solid pre-packing game plan means you’ll be decluttering like a pro, mapping out a realistic timeline, and getting all your supplies lined up from the get-go. Nailing this foundation is going to save you a world of hurt and a ton of time later on.
Moving often feels like one giant, overwhelming job, but the trick is to see it as a bunch of smaller, totally doable projects. The smoothest moves I’ve ever seen started weeks, sometimes even months, before the truck ever pulled up. This first phase is purely about prep work and smart planning. It’s how you set the stage for a calm, organized move instead of that last-minute, frantic scramble we all dread.
Forget that movie scene of throwing everything into boxes the night before. Real efficiency comes from a methodical approach that helps you trim the excess and get ready for the actual work.
This blueprint will walk you through those critical first steps: figuring out what you actually own, deciding what’s worth the effort of moving, and getting the right tools for the job. Focus on these fundamentals first, and you’ll turn packing from a monster of a chore into a process you actually control.
First things first: you can’t pack what you don’t know you have. It’s time to walk through every single room, closet, and dusty corner with a critical eye. This isn’t just about making a list; it’s about making some tough calls. Go ahead, open that junk drawer. Dig into the back of the linen closet. Be brave and head up to the attic. You need to be brutally honest about what you use, what you genuinely love, and what’s just collecting dust.
A good inventory does two key things for you:
Alright, now that you know what you’ve got, it’s time to decide what makes the cut. This is hands-down the most important step in the entire moving process. Why? Because moving less stuff is always cheaper, faster, and easier. Period.
Grab some bags or bins and create three distinct piles. Be decisive.
The point of decluttering isn’t just about getting rid of junk. It’s about making room for the life you want to live. When you shed the excess, you’re not just simplifying your move; you’re giving yourself a fresh, clean start.
Procrastination is the absolute enemy of a stress-free move. Believe it or not, behavioral statistics show that around 52% of movers don’t even start packing until less than two weeks before their move date. No wonder stress levels go through the roof!
A well-planned timeline is your best defense against that last-minute panic. Just work backward from your moving day and assign specific rooms or tasks to each week. For instance, start with the non-essentials—storage rooms, guest closets, out-of-season clothes—about four to five weeks out. Save the daily-use items for the final week. This steady pace keeps you from feeling swamped and ensures nothing gets left behind in the chaos. For more eye-opening info, you can discover more insights about commercial moving trends and statistics on clancymoving.com.
This simple infographic breaks down the core pre-packing workflow: Declutter, gather supplies, then pack according to your timeline.
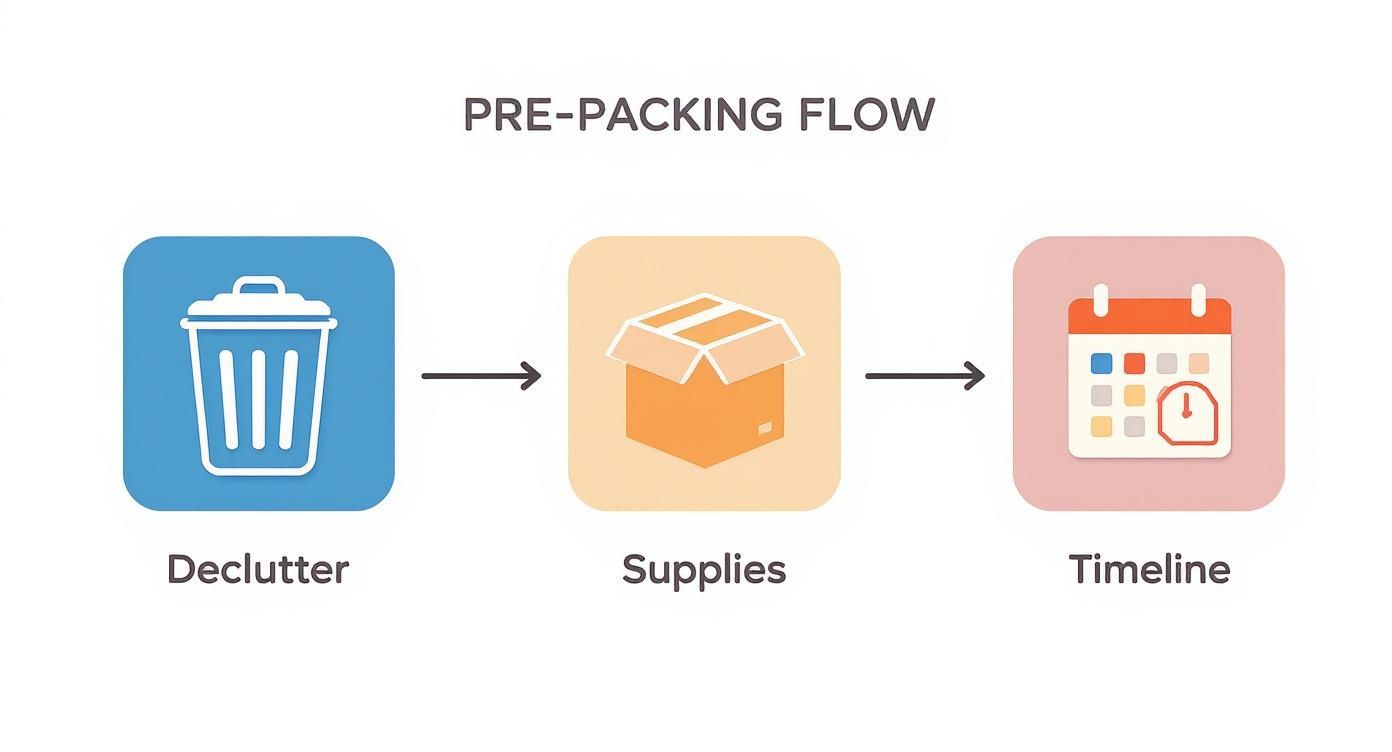
Following that sequence means you won’t waste any effort, and you’ll be fully kitted out before the real packing even begins.
There’s nothing more frustrating than running out of tape or boxes when you’re in the zone. It’s a super common problem; in fact, some studies show that a whopping 65% of movers underestimate how many packing materials they’ll need. That leads to multiple last-minute trips to the store, which just kills your momentum.
Avoid this headache by gathering everything you need before you start. You’ll need more than just cardboard boxes. Your toolkit should include good quality packing tape (don’t cheap out on this!), markers for clear labeling, bubble wrap for breakables, and maybe some specialty containers like wardrobe boxes for your clothes. Having it all on hand makes the whole process feel seamless.
To help you out, here’s a quick checklist of the essentials.
Having all your materials in one place before you begin is a game-changer. Use this list to make sure you’re covered.
| Category | Essential Items | Recommended Quantity (3-Bedroom Home) |
|---|---|---|
| Boxes | Small, Medium, Large, Wardrobe Boxes, Dish Packs | 15 small, 25 medium, 15 large, 3-4 wardrobe, 2-3 dish packs |
| Protection | Bubble Wrap, Packing Paper, Foam Pouches | 2-3 large rolls of bubble wrap, 1 large bundle of paper |
| Sealing & Labeling | Packing Tape, Permanent Markers, Color-Coded Labels | 8-10 rolls of tape, 1 pack of markers, 1 pack of labels |
| Tools & Extras | Box Cutter/Scissors, Tape Dispenser, Stretch Wrap | 1 box cutter, 1 tape dispenser, 1 roll of stretch wrap |
This list should give you a strong starting point. It’s always better to have a little extra than to run out at a critical moment
Staring at an entire house full of stuff and wondering where to even begin? It’s enough to make anyone want to call the whole thing off. The thought of packing everything at once can be completely paralyzing.
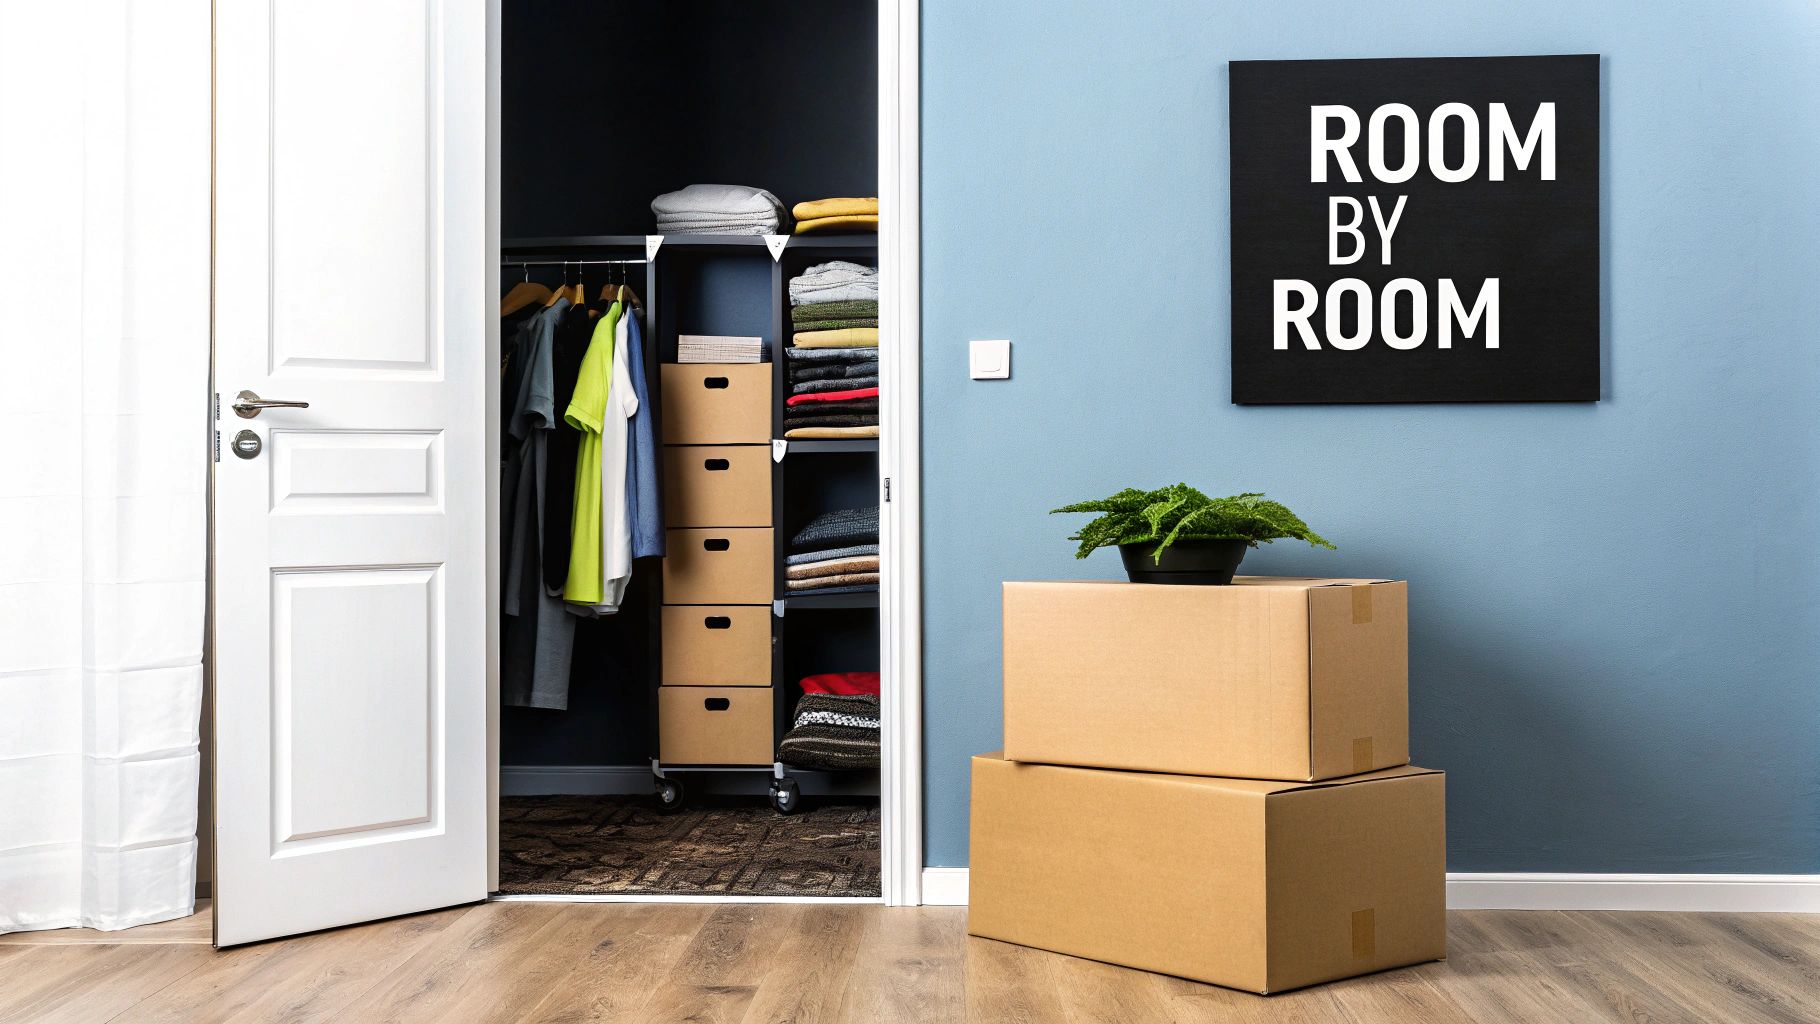
There’s a much saner way to do this: break the mountain down into manageable hills. A room-by-room approach turns one overwhelming project into a series of small, achievable wins. You build momentum, stay in control, and keep the chaos at bay.
The golden rule is beautifully simple: start with what you use the least. This isn’t just a random tip; it’s a strategic move that keeps your daily life humming along for as long as possible. By tackling storage areas and guest rooms first, you make huge progress without ever feeling like you’re living in a construction zone.
Your packing adventure should kick off in the quietest corners of your home. We’re talking about the garage, attic, basement, and those closets where things go to be forgotten. Any guest rooms that aren’t currently in use are prime targets, too. These spaces are treasure troves of non-essential items you won’t miss for a few weeks.
Getting these areas packed first gives you a massive psychological boost. There’s nothing quite like seeing an entire room cleared out early on. It’s a tangible sign of progress that fuels you for the more involved spaces ahead.
Once the deep storage is done, shift your focus to rooms that get some use but don’t house your daily necessities. This means the home office, the den, the library, and formal living or dining rooms that are mostly for show.
Clearing out these rooms is where you’ll feel like you’re really making a dent. Take books, for instance. They are deceptively heavy and take a while to pack right. Always use small, sturdy boxes. A large box filled with books is a classic moving mistake that will absolutely destroy your back.
A systematic packing plan is a cornerstone of any successful move. Industry data suggests that starting with non-essential items weeks in advance can reduce last-minute stress and potential damages by up to 30%.
Plus, think about the other end of the move. Great labeling can speed up the unloading process by as much as 20% because your movers aren’t playing a guessing game. For an average 3-bedroom home, you should plan on needing somewhere between 60 to 70 boxes to pack everything properly.
The kitchen is, without a doubt, the most dreaded room to pack. It’s a chaotic mix of heavy pots, awkwardly shaped appliances, and incredibly fragile glassware. You’ll want to save this room for last, but don’t put it off until the day before the truck arrives.
Start by packing the things you hardly ever use—the specialty baking pans, the good china, that fondue pot you got as a wedding gift. As moving day gets closer, whittle down to a small “essentials kit” with a plate, cup, and utensils for each person in your family.
When it’s finally time to pack the breakables, do it right:
Bedrooms are usually pretty straightforward. Begin with decorative items, books, and any clothes you know you won’t be wearing before the move. Wardrobe boxes are a game-changer; you can literally lift clothes on their hangers from the closet and hang them right inside the box. It makes unpacking a breeze.
For the bathroom, it’s mostly about sorting. Be ruthless. Toss any expired medications and that collection of nearly-empty shampoo bottles. Pack extra towels, linens, and backup supplies first, leaving out only what you need for the final week.
The garage is its own special kind of challenge. You’ve got oddly shaped tools, heavy equipment, and a bunch of hazardous materials. It’s important to know that movers are legally forbidden from transporting things like propane tanks, gasoline, paint, and harsh chemicals. Your only options are to use them up, give them away, or find a local facility for safe disposal.
For your tools and garden gear:
Finally, don’t forget about the big stuff. Dealing with large furniture in any room requires some prep work to avoid nicks and scratches. Use moving blankets and shrink wrap to protect corners, legs, and surfaces. For a more detailed walkthrough, check out our guide on the five essential tips for moving furniture safely and efficiently. By following this room-by-room plan, you’ll keep the stress low and ensure everything makes it to your new home in one piece.
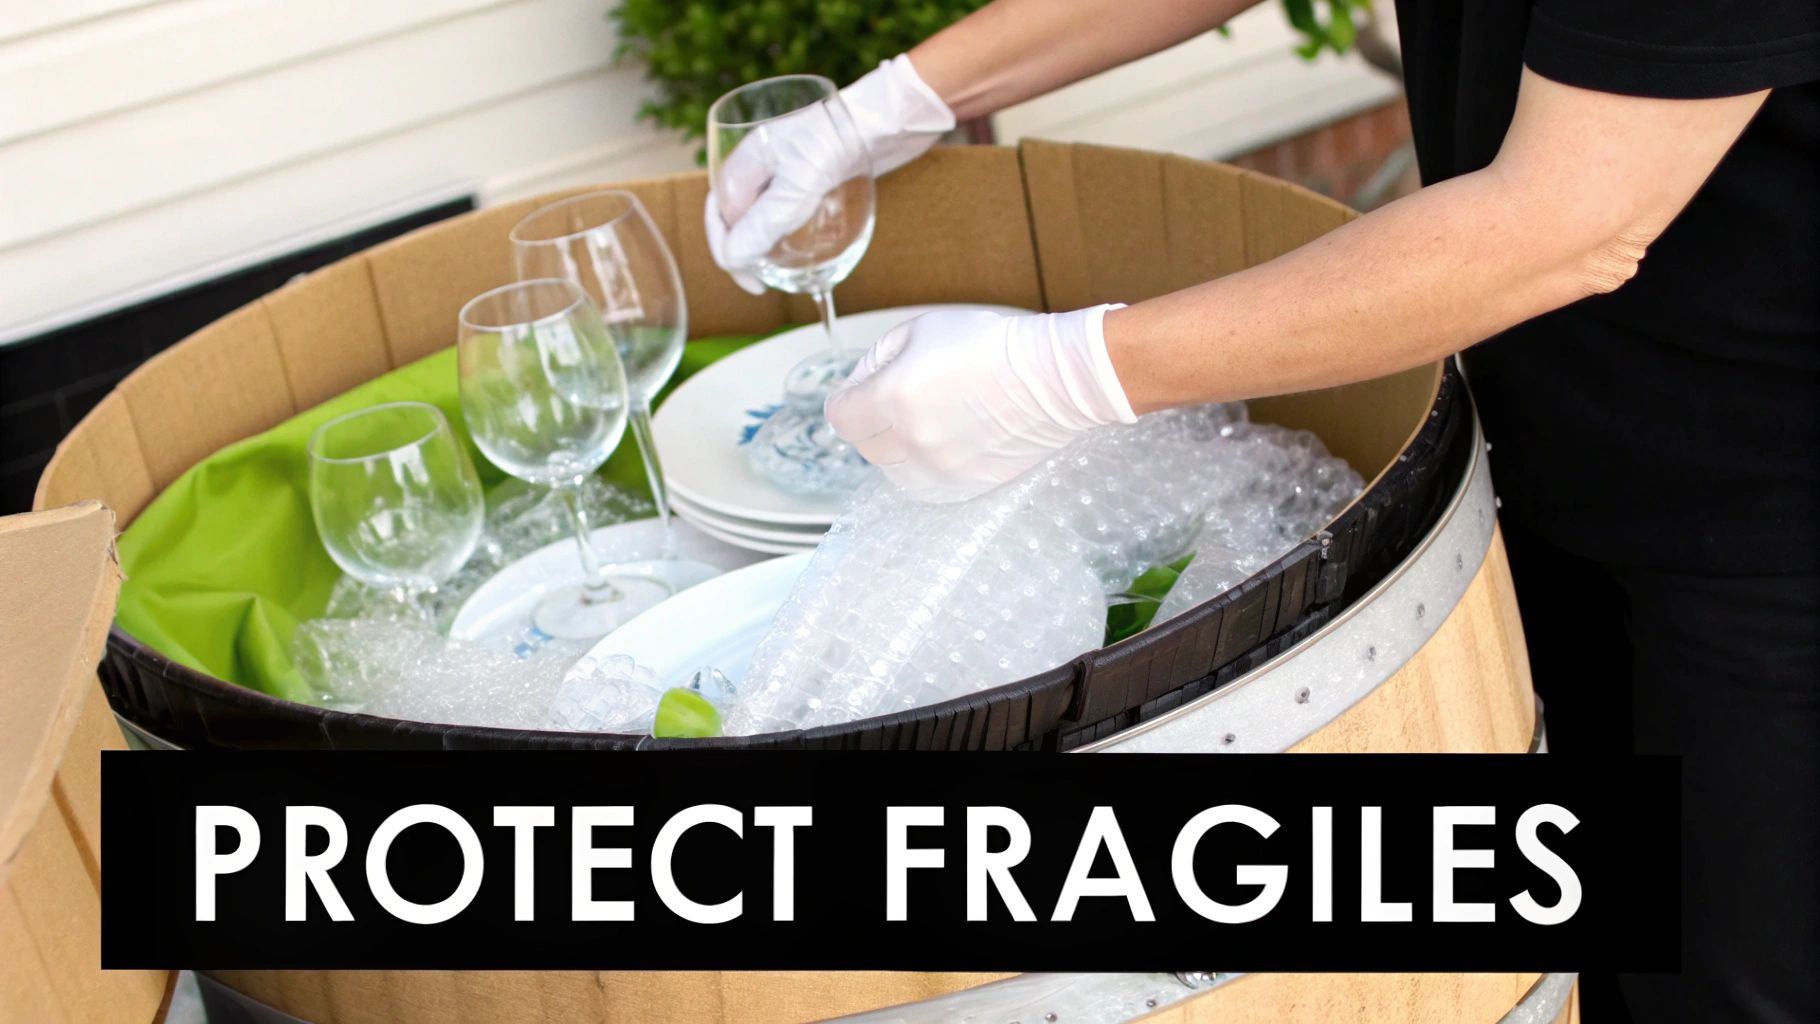
Let’s face it, some of your most treasured belongings simply can’t be tossed into a standard box. I’m talking about delicate glassware, irreplaceable family heirlooms, and that one piece of art you absolutely love. These items demand a more thoughtful, strategic approach to packing.
Getting this part right isn’t just about avoiding a broken plate; it’s about protecting memories and ensuring your new house feels like home from day one. The good news is, with the right materials and a few pro techniques, you can confidently pack even your most delicate items. This isn’t about guesswork. It’s about using proven methods to create a protective cocoon around each piece.
The kitchen is often the most intimidating room to pack. The sheer volume of breakables can feel overwhelming. The key is to cushion everything and eliminate any empty space inside the box where items could shift and knock against each other.
A professional trick we use all the time is a dish barrel or a heavy-duty, double-walled box. Before you place a single item inside, create a generous bed of crumpled packing paper at the bottom—this is your shock absorber.
For a deeper dive, you can check out our guide on the 10 essential steps for packing mugs for a move. The same principles apply to pretty much all your delicate dishware.
Big, flat, and fragile items like mirrors, picture frames, and TVs need a specialized approach. The original packaging is always your best bet for electronics, but let’s be real, who keeps those? If it’s long gone, you can create your own custom protection.
We recommend using a flat “mirror box,” which is designed to telescope to the perfect size. Wrap the item completely in bubble wrap, paying extra attention to the corners. If you can’t find a mirror box, you can sandwich the item between two large, flattened pieces of cardboard and tape them securely.
Key Takeaway: The goal for any fragile item is to create a buffer zone. It should never directly touch the inside wall of the box. Aim for at least two to three inches of padding on all sides.
The moving industry has definitely taken note of how crucial this is. Interestingly, about 25% of household items are classified as fragile goods needing special materials. For high-value things like electronics and artwork, over 40% of movers now use professional-grade packing supplies or hire expert teams.
Some things are just too important or sensitive to trust to a moving truck, no matter how well they’re packed. This category includes anything that is financially or sentimentally irreplaceable.
Make a “Do Not Pack” box or bag that travels with you personally. This is non-negotiable.
Here’s what should go in it:
By keeping these items under your personal care, you completely eliminate the risk. It’s the final step to ensuring your most vital possessions are safe, giving you total peace of mind during the move.
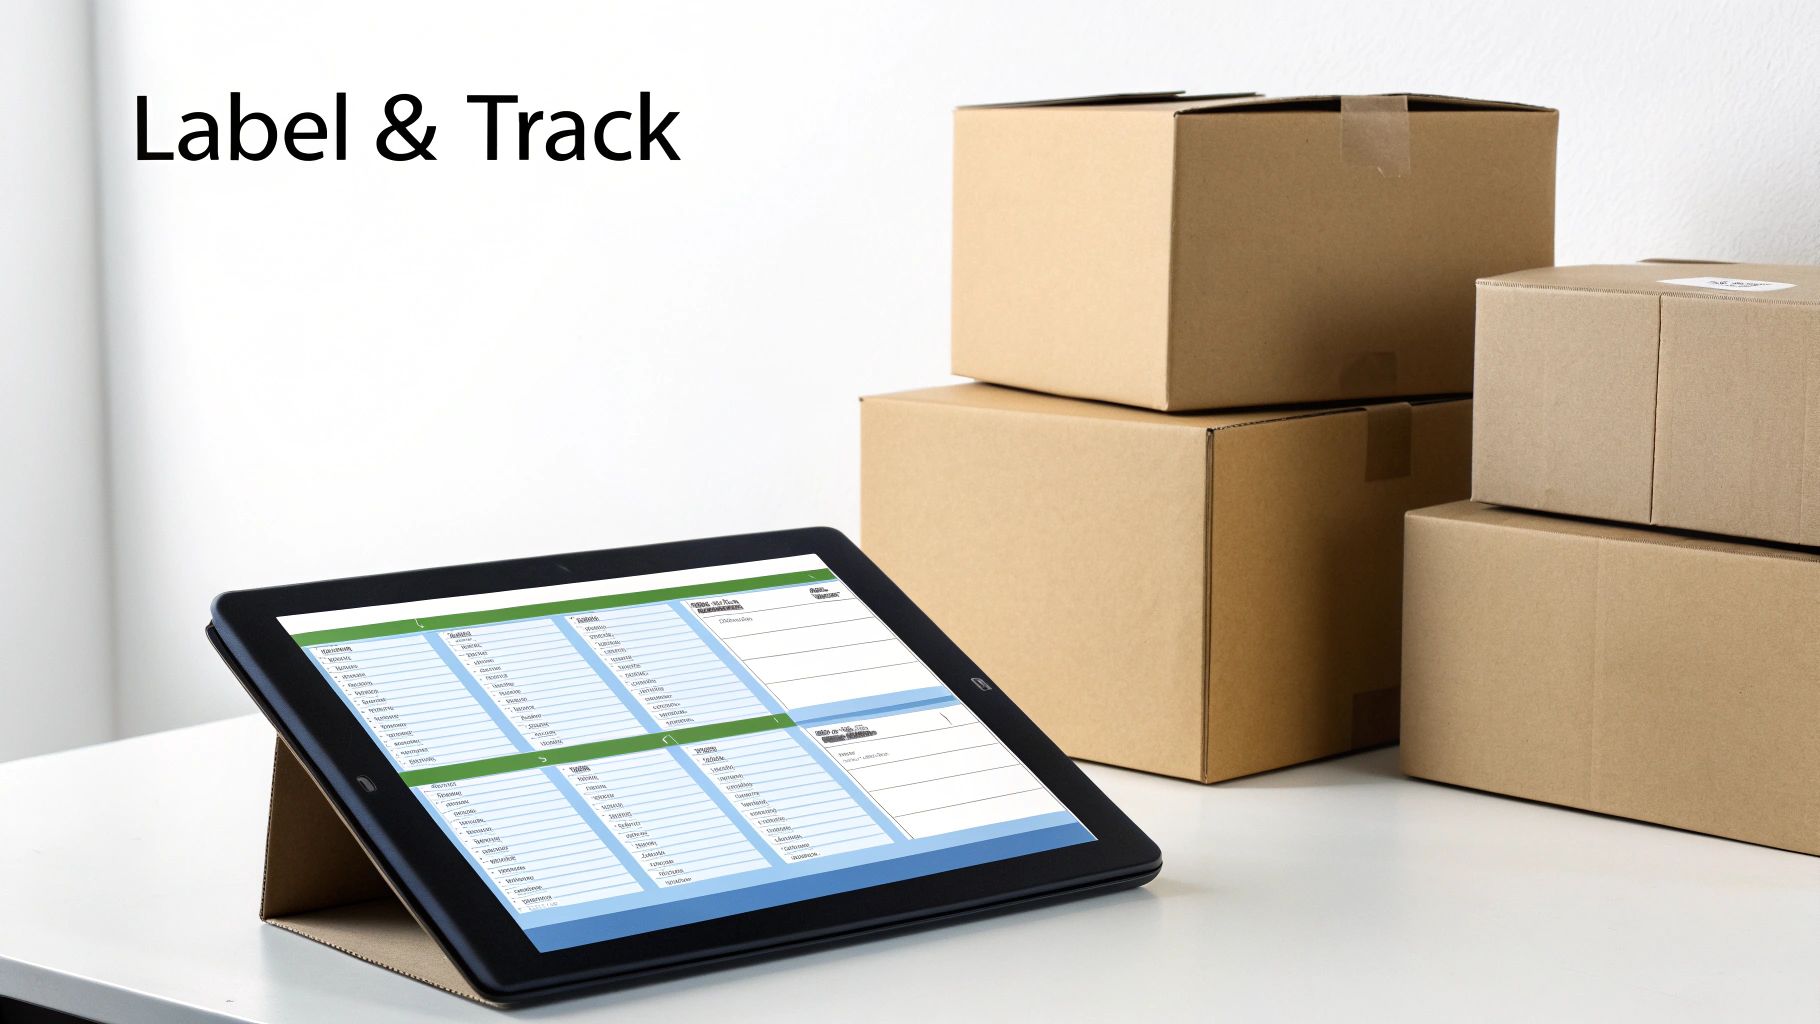
A good labeling system is the quiet hero of any successful move. Seriously. It’s the one thing that stands between a smooth, organized unpacking experience and days of pure chaos, ripping open box after box just to find the coffee maker.
Think of each label as a clear set of instructions for your future, slightly-stressed-out self and your moving crew. When you get this right, move-in day is transformed. Instead of a mountain of mystery boxes piled high in the living room, each one gets dropped off right where it belongs. This simple step cuts down on clutter and saves you from hauling heavy boxes around your new home.
There’s no single “perfect” way to label your boxes. The best system is the one you’ll actually stick with. Your goal is simple: clarity and efficiency.
Color-Coding System: This is a brilliant visual shortcut. Just assign a color to each room—blue for the master bedroom, green for the kitchen, you get the idea. You can use colored tape or big, bold markers. This lets your movers know where a box goes with just a quick glance.
Numbering and Inventory List: If you’re the type who loves a good spreadsheet, this method is for you. Assign a unique number to every single box. Then, keep a running list in a notebook or on your computer that details what’s in each numbered box. For example: “Box #27 – Kitchen – Everyday silverware, can opener, utensil tray.”
Digital Inventory Apps: For the more tech-savvy out there, moving apps can be a game-changer. Many let you create a digital inventory and print QR codes for your boxes. When you get to your new place, just scan the code with your phone, and it pulls up a complete list of what’s inside. No more guesswork.
No matter which system you go with, there are a few key pieces of information that need to be on every single box. And be consistent! Make sure to label at least two sides (and the top) of every box so the info is always visible, even when they’re stacked.
Your label should answer three questions immediately: Where does this go? What’s inside? And how should it be handled? Getting this right turns unpacking from a treasure hunt into a simple assembly line.
A solid label always includes:
Putting in a little extra effort to create a smart labeling system is a non-negotiable step. It’s one of the most important things you can do to make sure your belongings are accounted for and that your move-in day is as seamless as possible. You’ll thank yourself later.
So, you’re staring at a mountain of stuff, and the big question looms: Should you pack it all yourself or call in the pros? It’s the classic moving dilemma, a real tug-of-war between your wallet and your calendar. There’s no single right answer here, but figuring out the true costs of each option will help you make a call you feel good about.
https://www.youtube.com/embed/MI_IMj0YhPs
Going the DIY route always looks like the cheapest path at first glance. Sure, you’re not paying for labor, but don’t forget to tally up the real expenses. You’ll be buying every last box, roll of tape, and sheet of bubble wrap yourself, and believe me, those costs sneak up on you fast.
But the biggest cost isn’t money. It’s your time. Packing up an entire home is a marathon, not a sprint. Even a small apartment can swallow dozens of hours you might not have.
When you decide to pack everything yourself, you’re basically paying with your own time and energy. Before you dive in, be brutally honest with yourself: do you really have the hours to spare between work, family, and a million other move-related errands?
Let’s put it in perspective. Packing a typical three-bedroom house can easily take one person a solid 40-50 hours of focused work. That’s a full work week! Then there’s the physical toll of all that lifting and the mental exhaustion of organizing every single item you own. It’s a massive job.
The real currency of a DIY move isn’t just money; it’s your time and your sanity. Underestimating the sheer volume of work is the most common mistake people make when they decide to pack themselves.
Hiring a full-service moving company like Family Movers Express flips the script entirely. Instead of chipping away at it for weeks, a trained crew can pack your entire home in just a day or two. This isn’t just about being fast; it’s about having a system. These guys know all the tricks, from using special dish packs for your glassware to wrapping furniture so it arrives without a scratch.
It’s no wonder this kind of service is booming. The market for premium moving services, including full packing and unpacking, has been growing by about 15% annually. With around 41 million Americans moving each year, more and more people are deciding that a stress-free experience is worth the investment.
The biggest benefit? Pure peace of mind. Knowing your fragile heirlooms are packed by experts and everything is insured against damage is priceless. You can dig into the key advantages of hiring professional movers to see how much it can change your entire moving experience.
When deciding, it helps to see a side-by-side comparison of what you’re really getting with each option.
| Factor | DIY Packing | Professional Packing (e.g., Family Movers Express) |
|---|---|---|
| Cost | Lower upfront labor cost, but you pay for all materials and your own time. | Higher upfront cost, but includes all labor, materials, and often insurance. |
| Time Commitment | Extremely high. Can take days or even weeks of your personal time. | Minimal. A professional crew can often pack an entire home in 1-2 days. |
| Effort & Stress | High physical and mental strain. You’re responsible for everything. | Very low. The team handles all the packing, lifting, and organizing, reducing stress. |
| Skill & Technique | Relies on your own knowledge. Risk of improper packing leading to damage. | Trained experts use proven techniques and specialized materials for maximum protection. |
| Liability | You are responsible for any items that break due to improper packing. | The moving company is liable for items they pack, and their work is insured. |
| Convenience | Low. Requires significant planning, shopping for supplies, and hard labor. | High. It’s a hands-off experience allowing you to focus on other moving tasks. |
Ultimately, this table shows the trade-off clearly: DIY saves money but costs you time and effort, while professional services save you time and stress at a higher financial cost.
Remember, it doesn’t have to be all or nothing! A hybrid approach is a fantastic way to balance your budget and your sanity. You get expert help exactly where you need it most.
You can tackle the easy stuff—clothes, books, linens—and then bring in the professionals for the rooms that give you nightmares.
In the end, choosing your packing strategy comes down to a simple, honest look at your budget, your timeline, and your energy level. Weigh the options, and you’ll build a plan that makes your move a success.
Even the most meticulously crafted moving plan has a few loose ends. It seems like no matter how much you prepare, there are always those odd little questions that pop up at the last minute. What do you do with the half-empty bottle of olive oil? How on earth do you move your beloved fiddle-leaf fig?
Don’t worry, we’ve heard them all. Think of this as your personal packing help desk, where we tackle the tricky, specific questions that don’t always fit into a neat checklist. With the right advice, you can handle these little curveballs like a pro and keep your move running smoothly.
This is one of the smartest questions you can ask, and the answer is simple: your “essentials box.” Some people call it an “open-first” box, but I like to think of it as your 24-hour survival kit for the new place. It’s the one box that saves you from tearing through a mountain of cardboard just to find a toothbrush.
Crucially, this box doesn’t go on the truck. It rides with you in your car.
Here’s what you’ll be glad you packed inside:
This little box is the key to a sane first night in your new home. It prevents that frantic, late-night search for necessities when all you want to do is crash.
Ah, the plant parent’s dilemma. Your leafy friends are living things, and moving can be a real shock to their system. The first thing to know is that most professional movers, us included, are legally barred from transporting plants on long-distance moves. This is due to strict state agricultural regulations meant to stop the spread of invasive pests.
For a local move, you’ll be playing chauffeur to your green buddies in your own car.
Here’s how to prep them for the journey:
If you’re moving cross-country, your best bet is to find a new home for them with friends or family. You could also take cuttings to propagate and start fresh in your new space.
Liquids are the number one cause of moving day disasters. One leaky bottle of shampoo can ruin an entire box of clothes, books, and memories. The first rule of moving liquids is brutal but effective: purge. Get rid of anything half-empty or that you can easily replace.
For the must-have liquids that are making the trip, you need to get serious about prevention:
Pro Tip: Always pack liquid containers standing upright. Then, grab a thick marker and write “LIQUIDS – THIS SIDE UP” in big, bold letters on all four sides and the top of the box. It’s a simple step that can save you a world of mess.
Absolutely! The days of endless bubble wrap and packing tape mountains are fading. People are much more conscious of their environmental footprint, and the moving industry is responding. In fact, over 35% of moving companies now offer greener packing solutions as folks look for more sustainable options. You can read a bit more about these evolving moving services market trends here.
Instead of defaulting to traditional supplies, check out these alternatives:
Making a few smart swaps can dramatically cut down on the waste your move generates.
At Family Movers Express LLC, we’ve seen—and solved—every packing puzzle you can imagine. If you’re staring at a room full of stuff and feeling the pressure, our expert packing services can take that weight right off your shoulders. Let us handle the tape and boxes so you can focus on the adventure ahead.
Find out more about our full-service packing and moving solutions at https://www.familymoversxpress.com.
Article created using Outrank
