

Let’s be honest, moving a treadmill isn’t a simple “lift with your legs” situation. It’s a sequence: you’ll need to prep and secure the machine, maybe take it apart a bit, and absolutely have a partner to help lift it onto a dolly for the actual transport.
Never, ever try to move a treadmill by yourself. A little bit of planning and teamwork is what stands between you and a damaged machine, a pulled back muscle, or worse.
Your Essential Game Plan for Moving a Treadmill
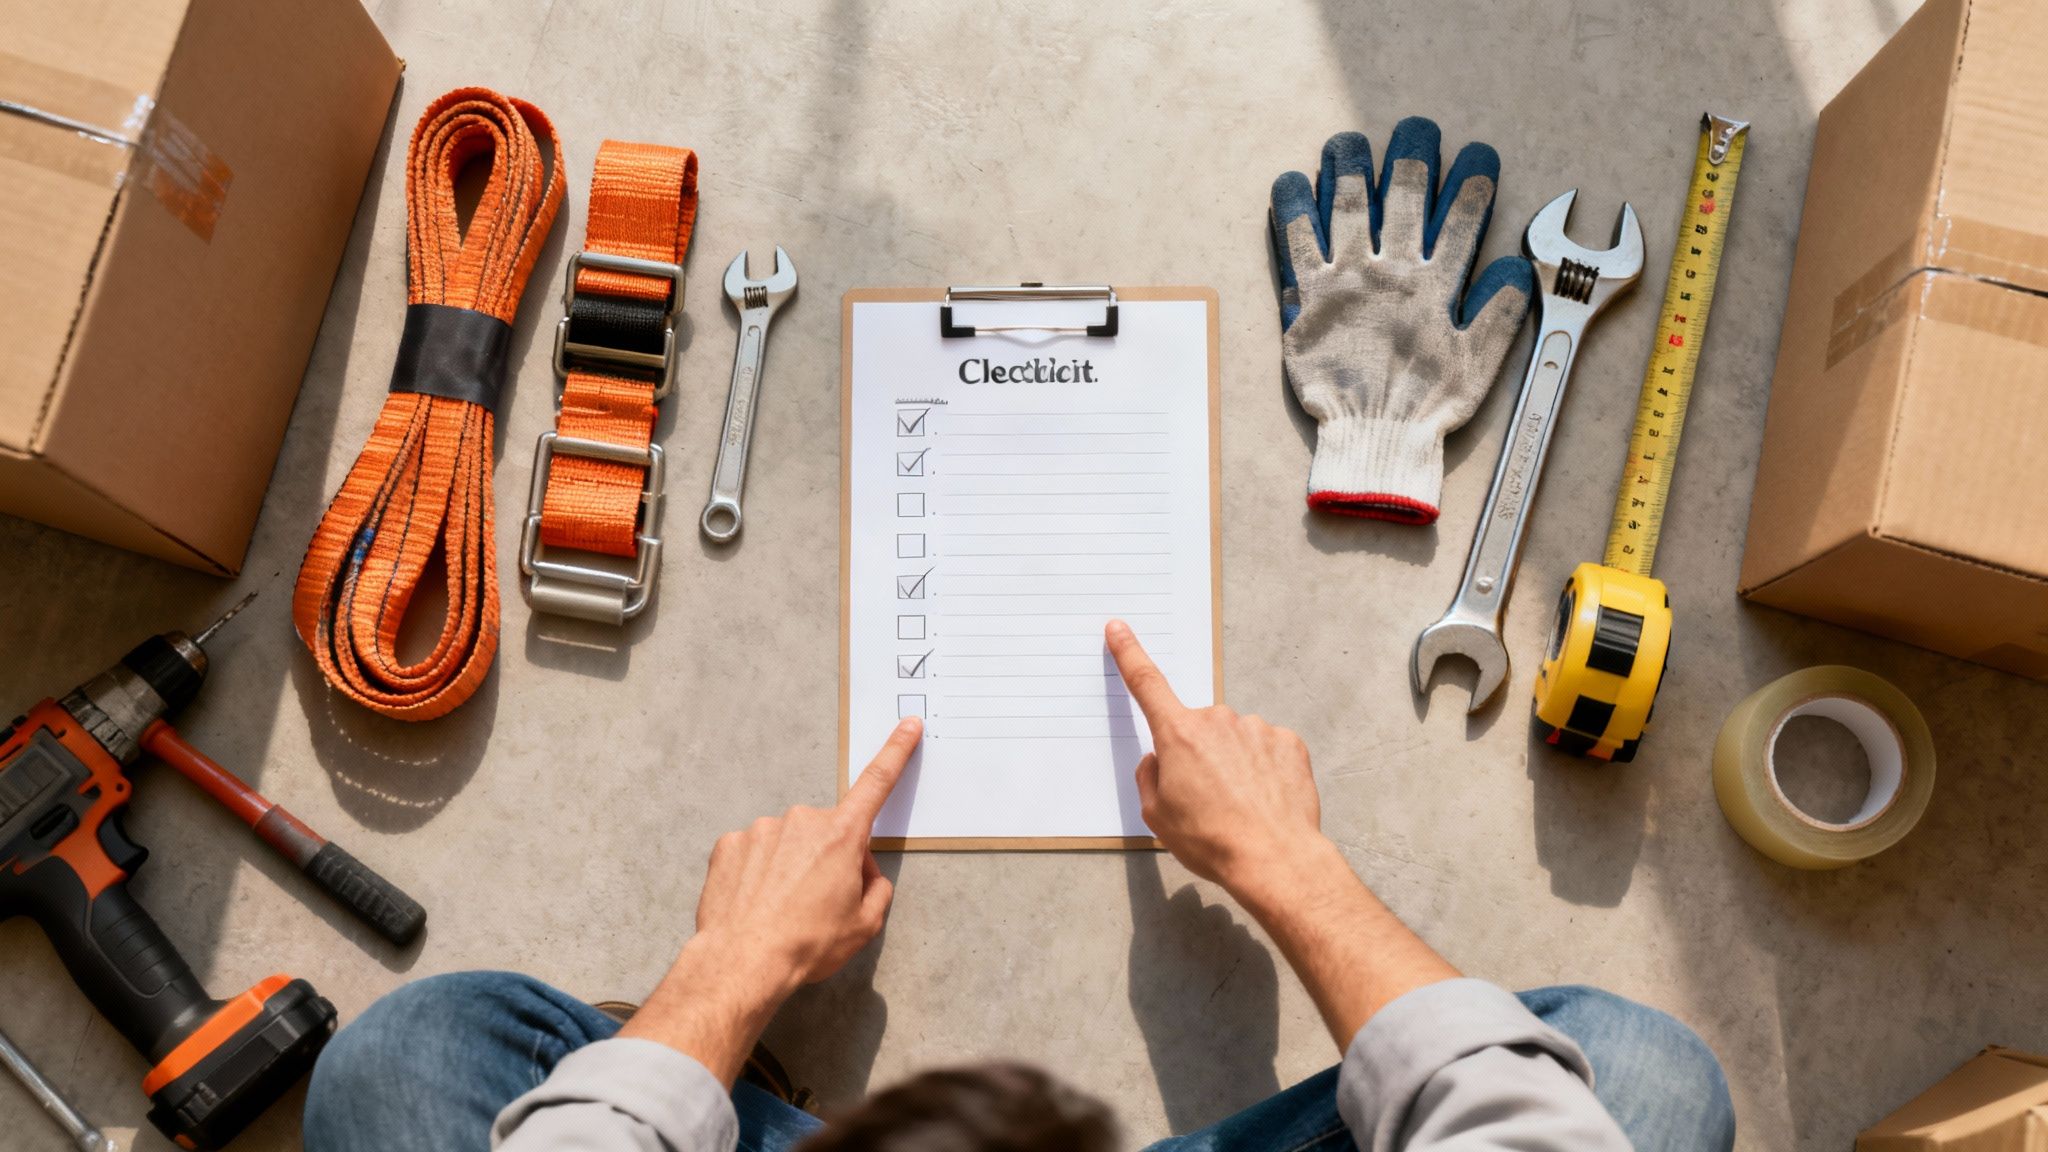
Before you even think about turning a bolt or flexing a muscle, you need a solid strategy. This is your most important tool. Moving a heavy, awkward piece of equipment like a treadmill isn’t just about brute force; it’s about thinking ahead to navigate those tricky doorways, tight corners, and dreaded staircases without damaging the machine’s delicate electronics.
Spending just a few minutes on a game plan now can save you from a world of frustration later. Think of this as your pre-move briefing. We’re going to walk through everything, from getting the right gear together to coordinating with your lifting buddy. This is what separates a smooth move from a costly, painful disaster.
Gathering Your Moving Arsenal
Having the right equipment ready to go makes the entire process so much safer and more efficient. You wouldn’t try to build a bookshelf without a screwdriver, right? The same logic applies here—you definitely shouldn’t try moving a 200-pound machine without the proper tools.
Here’s what you’ll want to have on hand before you start:
- Furniture Dolly: This is an absolute must-have for saving your back. A sturdy, four-wheeled dolly is perfect because it distributes the treadmill’s weight evenly and makes it easy to roll.
- Moving Straps or Ratchet Straps: These are critical for two things: strapping the treadmill securely to the dolly so it doesn’t slide off, and then securing it inside the moving truck to prevent it from tipping over in transit.
- Moving Blankets: Don’t skip these. They’re essential for protecting the treadmill’s finish from scratches and, just as importantly, protecting your walls, floors, and door frames from getting dinged up.
- Basic Tool Kit: You’ll likely need to do some minor disassembly, so have a set of screwdrivers and Allen wrenches ready. Check your treadmill’s manual to see exactly what you’ll need.
The Power of a Partner
Treadmills are easily one of the heaviest and most awkward pieces of home gym equipment you can own, often tipping the scales between 150 and 300 pounds. This isn’t a one-person job. In fact, trying to be a hero here is a great way to get hurt.
A partner isn’t just about extra muscle. They’re a second set of eyes for navigating tight spaces, a crucial spotter when you’re dealing with stairs, and another voice to help problem-solve. Clear, constant communication is your best safety feature.
A well-coordinated plan ensures that both you and your expensive equipment arrive at your new place in one piece. For a bigger picture on how to get organized, our guide on how to plan your move weeks in advance can help you get everything lined up without the last-minute stress.
To help you visualize the process, here’s a quick checklist of the key stages involved.
Quick Reference Treadmill Moving Checklist
This table breaks down the entire process into manageable phases, so you know exactly what to expect and what you’ll need at each step.
| Stage | Key Actions | Required Tools | Estimated Time |
|---|---|---|---|
| Preparation & Planning | Read manual, measure doorways, clear path, unplug treadmill. | Measuring tape, owner’s manual. | 30 minutes |
| Disassembly | Fold and lock the deck, remove console or handlebars if needed. | Screwdriver, Allen wrenches. | 30-60 minutes |
| Packing & Protection | Wrap components in moving blankets, secure loose parts. | Moving blankets, packing tape, stretch wrap. | 20 minutes |
| Lifting & Transporting | Lift onto dolly with a partner, secure with straps, roll to vehicle. | Furniture dolly, moving straps, gloves. | 30-45 minutes |
| Reassembly | Unload, carry inside, reattach parts, plug in, and test. | Screwdriver, Allen wrenches, owner’s manual. | 30-60 minutes |
Think of this as your roadmap. Following these stages will keep you organized and ensure you don’t miss a critical step along the way.
Preparing Your Treadmill for a Safe Move
A successful treadmill move starts long before you ever try to lift the beast. Trust me, proper prep work is what separates a smooth process from a day of frustration and costly damage. Skipping these early steps is a classic mistake that can wreck the machine’s sensitive electronics or, worse, lead to injury.
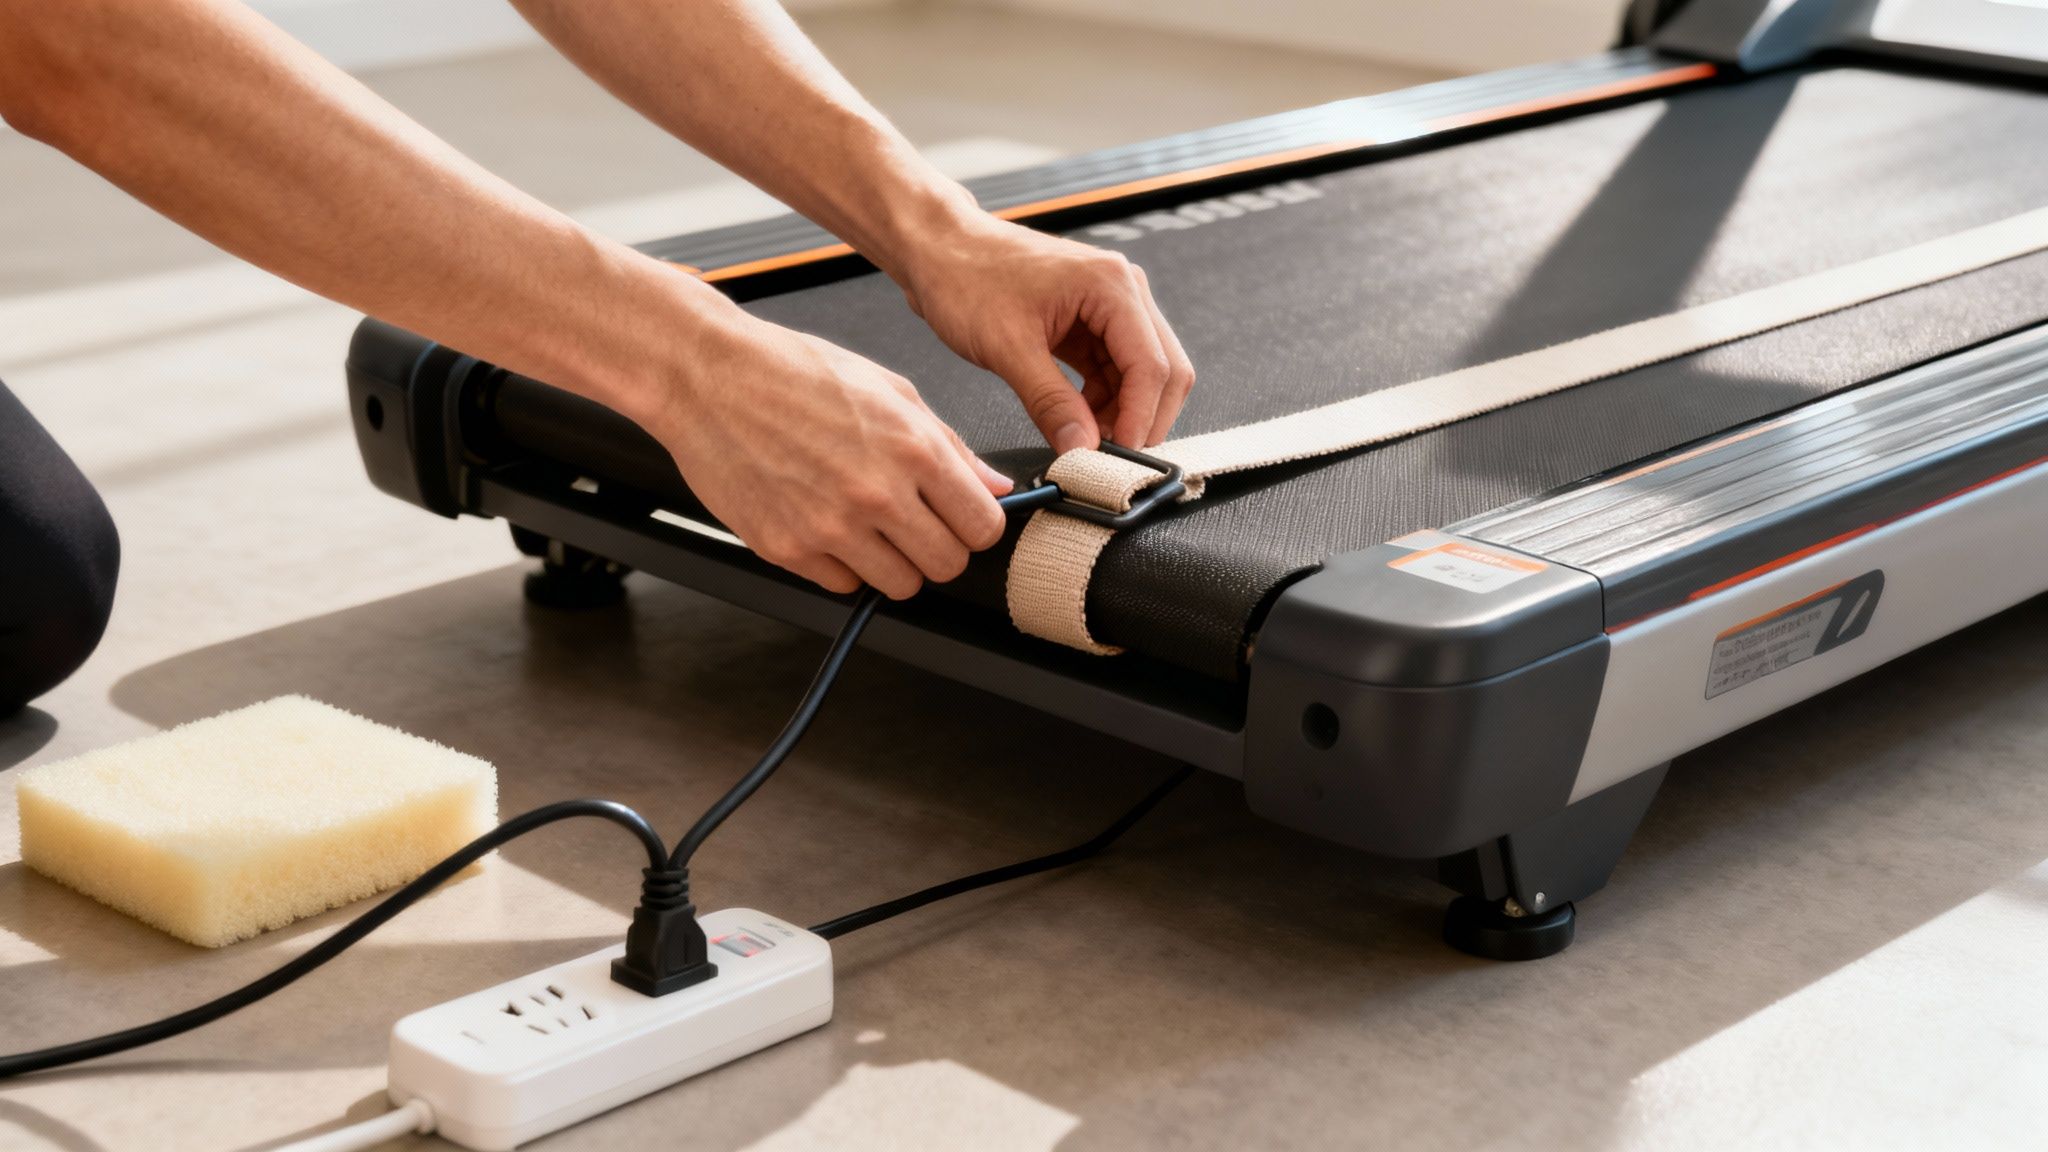
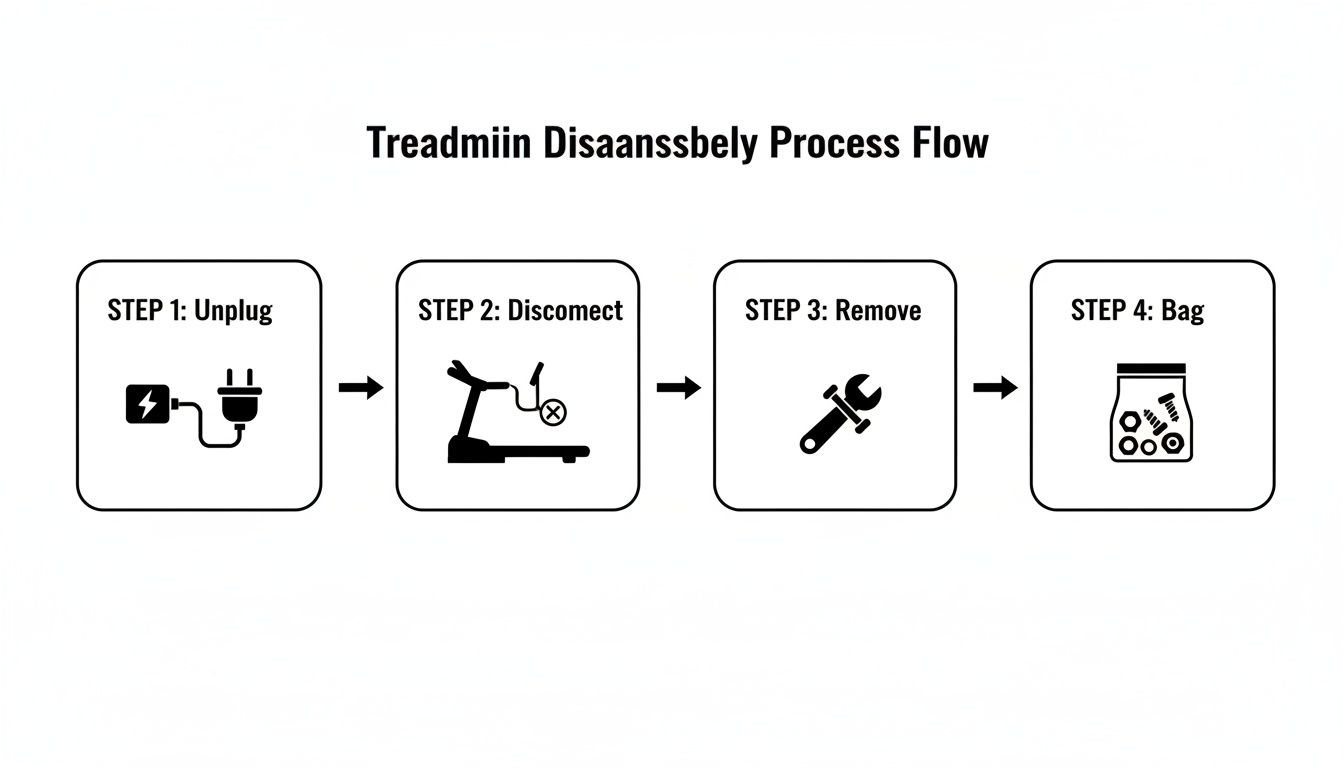
The absolute first thing you need to do is power it down completely and unplug it from the wall. It sounds obvious, but you’d be surprised. Once it’s unplugged, take a moment to neatly coil the power cord and tape it securely to the frame. A loose cord is just waiting to get snagged on a doorway or trip someone up.
Don’t forget about that little red magnetic safety key, either. Pop it off the console and put it somewhere safe—a labeled Ziploc bag taped to the machine is a great spot. That tiny key is easy to lose in the chaos of a move, and your treadmill is just an expensive clothes rack without it.
Secure All Moving Parts
Next up, you’ll want to lock down anything that can shift around in transit. The walking belt is your main concern here. If it can move freely, you risk damaging the internal rollers and the motor. Grab some ratchet straps or even just some heavy-duty packing tape and fasten the belt firmly to the deck so it can’t budge.
If you have a foldable model, now’s the time to fold it up and lock it.
- Lift the deck all the way up until you hear that satisfying click of the latch engaging.
- Give the deck a gentle push just to be certain it’s locked securely in place.
- Never, ever try to move a folded treadmill without double-checking that lock. A deck that drops unexpectedly is a serious hazard.
Getting it folded and locked shrinks the machine’s footprint dramatically, which will make your life a lot easier when you’re squeezing through tight hallways and doors.
Conduct a Pre-Move Inspection
Before you start wrapping, pull out your phone and do a quick walk-around. Snap a few photos of the treadmill from every angle. This creates a simple visual record that’s gold if you need to file an insurance claim later or just need a reminder of how everything looked before you took it apart.
While you’re at it, give the machine a once-over. Look for any loose bolts, screws, or plastic covers and tighten them down. It’s a small thing, but it prevents parts from vibrating loose and disappearing into the void during the trip.
We see DIY moves go sideways at this stage all the time. With electronic treadmills grabbing a 57% market share in 2023, there are more delicate components to worry about than ever. In our experience, DIY moves have up to a 70% risk of damage—from cracked belts that cost $200-$500 to repair, to completely warped decks.
The final prep step is non-negotiable: wrap the console and any other sensitive areas with thick moving blankets. It’s the same principle as when you’re packing delicate items like a pro; that extra padding is your best defense against scratches, dings, and impacts, ensuring your investment arrives looking as good as it did when you left.
Let’s be honest, sometimes the hardest part of moving a treadmill isn’t the dead weight—it’s the bulky, awkward shape. When you’re facing a narrow hallway, a sharp corner, or a tight stairwell, wrestling with a fully assembled machine is just asking for scuffed walls and a damaged treadmill.
This is where a little strategic disassembly can be a total game-changer.
You don’t need to break it down to every last nut and bolt. Often, just taking off the console and handlebars is enough to shrink its profile and shed a good 30-50 pounds. Suddenly, that impossible maneuver becomes surprisingly manageable.
First things first, dig up your owner’s manual. If it’s been lost to the ages, a quick online search for your model number should bring up a PDF. This isn’t just a friendly suggestion; it’s your roadmap to taking the machine apart correctly without yanking a sensitive wire or stripping a crucial bolt.
Identifying Removable Components
Your manual will show you exactly which parts are meant to come off for a move. In most cases, you’ll be focusing on the main uprights and the console assembly.
- The Console: This is the electronic brain of your treadmill. It’s usually held on by just a few screws, but it’s connected by delicate wires. Getting it off makes the base far less top-heavy and easier to handle.
- Handlebars/Uprights: These are the long arms that hold up the console. Taking them off is the single biggest space-saver, turning that awkward “T” shape into a simple, flat rectangular base that’s much easier to pivot around corners.
The Disassembly Process, Step-by-Step
Before you start, grab a Phillips head screwdriver and a set of Allen wrenches. As you get going, pull out your phone and take pictures at each step. Trust me, these photos will be your best friend when it’s time to put everything back together later.
Start by finding the screws holding the console to the uprights. Once they’re out, gently lift the console and look for the wire harnesses connecting it to the base. These are typically simple plastic clips you can unplug. Whatever you do, don’t pull on the wires themselves—always get a firm grip on the plastic connector.
Next, shift your focus to where the uprights meet the treadmill deck. You’ll see a few larger bolts on each side. Loosen and remove these, and the uprights should lift away without a fight.
The most overlooked part of this job? Keeping the hardware organized. As soon as you remove a screw or bolt, put it in a labeled Ziploc bag. A bag for “Console Screws” and another for “Upright Bolts” will save you from a world of frustration during reassembly.
For more great tips on keeping all your small items in order, check out our guide on how to pack for a move.
With the main pieces separated, it’s time to protect them. Wrap the console, each handlebar, and the main base in their own moving blankets. Give the console’s screen and control panel extra padding. This prevents the parts from getting damaged and also stops them from scratching up your walls and door frames on the way out. This methodical approach makes sure every piece arrives safely and that putting it back together is a breeze.
Proper Lifting and Transport Techniques
Now for the part that requires some real muscle. But trust me, when it comes to moving a treadmill, it’s all about finesse, not just brute force. Using the right techniques is the difference between a smooth move and a trip to the chiropractor—or the appliance repair shop. It’s about working smarter, not harder.
Teamwork is absolutely essential here. Before you and your partner even think about lifting, get on the same page. Decide who’s leading, who’s spotting, and agree on simple commands like “lift,” “lower,” and “stop.” A silent move is a dangerous move. Constant communication keeps you both in sync, which is critical when you’re squeezing through a tight doorway.
Mastering the Art of the Lift
I can’t stress this enough: proper lifting posture is non-negotiable. Always, always bend at your knees and hips, never at your waist. Keep your back straight, tighten your core, and look up. Get a solid grip on a sturdy part of the frame—stay away from the plastic covers or the console. When it’s time to lift, drive up with your legs and let them do the heavy work. This simple move takes the strain off your vulnerable lower back and puts it on your much stronger leg muscles.
For getting around those awkward corners, we movers use what’s called the ‘pivot method’. It sounds technical, but it’s pretty straightforward:
- With one person at each end, lift the treadmill just enough to clear the floor.
- One person acts as the anchor—the stationary “pivot point”—while the other person slowly swings their end around the corner.
- The whole time, keep the treadmill’s center of gravity as low as possible.
This gives you maximum control and seriously cuts down the risk of taking a chunk out of your drywall.
The process below breaks down the key prep work you need to do before you even get to this stage. A safe move always starts with careful preparation.
Using a Furniture Dolly Like a Pro
A furniture dolly is your best friend for this job, period. With your partner, carefully lift the treadmill and set it squarely in the center of the dolly. Centering it is crucial for stability. If the weight is off-balance, that heavy machine can tip over in a heartbeat.
Once it’s positioned, secure it with moving straps. Loop the straps over the treadmill frame and under the dolly itself, then ratchet them down until there’s zero wobble. Now you’re ready to roll. Have one person guide from the front and the other spot from behind to keep things steady.
Treadmills are one of the most challenging items on move day. Your average home unit weighs 150-250 lbs, and based on mover logs, a staggering 20% tip over in transit when they aren’t secured properly. Worse yet, 28% of all moving-related injuries are linked to fitness equipment. Using techniques like the pivot method can reduce physical strain by up to 60%, making the entire process much safer for everyone.
Navigating Stairs and Loading the Truck
Ah, stairs. The final boss of moving any heavy item. The rule here is to always have the stronger person on the lower end, managing the bulk of the weight. Take it slow—one step at a time—and keep talking. The person up top guides and controls the speed, while the person at the bottom bears the load.
When you get to the moving truck, use a ramp if you have one. Always push the dolly up the ramp; never try to pull it from the front. If you don’t have a ramp, you’ll absolutely need a third person for a safe lift. Once inside, place the treadmill against the truck’s front wall (closest to the cab) and use more ratchet straps to lock it down so it can’t shift. This is a core technique our teams use for moving heavy furniture to make sure everything arrives in one piece.
Knowing When to Hire Professional Movers
Taking on a move yourself can feel empowering, not to mention easier on the wallet. But when it comes to something like a treadmill—an item that’s both a beast to lift and surprisingly delicate—a DIY approach isn’t always the smartest play. Sometimes, the best decision you can make is to step back and let the pros handle it.
Knowing your limits is everything here. Seriously, take a minute and walk the path from where the treadmill sits now to the moving truck. Does it involve a tight, winding staircase? A narrow basement door? What about a few flights of stairs in an apartment building? These are all high-risk zones where one bad step can mean a trip to the emergency room or a busted machine. This is just another Tuesday for professional crews; they have the right equipment and techniques to navigate these obstacles without breaking a sweat.
Evaluating the Real Cost and Risk
It’s tempting to only look at the upfront price tag of hiring movers, but you have to think about the potential hidden costs of doing it yourself. One slip could lead to a $500+ repair bill for a cracked deck or a fried electronic console. Don’t forget to factor in the cost of renting a proper appliance dolly, buying moving blankets and straps, and most importantly, the value of your own time and physical health.
A professional moving team isn’t just about having extra muscle on hand; it’s about paying for expertise and insurance. They show up with specialized dollies, ramps, and the know-how to move your specific model without wrecking the internal components. That peace of mind is often worth every penny.
If you own a commercial-grade treadmill, the decision is pretty much made for you. These monsters can weigh well over 300 pounds and are far more complex than their residential cousins. Trying to move one without experience is just asking for trouble. This is where you can truly appreciate the advantages of hiring professional movers, as they bring the exact tools and manpower needed for such a heavy-duty job.
So, how do you decide? Let’s break it down with a straightforward comparison.
DIY vs Professional Movers for Your Treadmill
This table gives a realistic look at what you’re getting into with each option. It’s designed to help you make an informed choice based on your specific situation, not just the upfront cost.
| Factor | DIY Move | Hiring Professional Movers |
|---|---|---|
| Upfront Cost | Lower (rental equipment, supplies). | Higher (quoted service fee). |
| Risk of Damage | High (to treadmill, home, and yourself). | Very low (handled by insured, experienced pros). |
| Required Equipment | You must source a dolly, straps, blankets. | All specialized equipment is provided. |
| Physical Effort | Extremely high; requires at least two strong people. | Zero physical effort required from you. |
| Time Commitment | Significant (prep, disassembly, moving, reassembly). | Minimal; the crew handles everything efficiently. |
| Insurance | None; you are liable for all damages. | Fully insured against damage to property. |
At the end of the day, the answer is usually pretty clear. If you don’t have a strong, reliable helper, lack the right tools, or are facing a tricky path out of your home, calling in the professionals is the safest and most efficient choice you can make.
Common Questions About Moving a Treadmill
Look, even with a great plan, moving something as beastly as a treadmill brings up a few last-minute “what ifs.” You’re not just moving a piece of furniture; you’re moving a complex machine, and it’s totally normal to have questions.
We get these all the time. Let’s tackle the most common ones so you can go into this with total confidence.
Can One Person Move a Treadmill Alone?
Let me be blunt: absolutely not. I can’t stress this enough. It’s a question we hear constantly, and the answer is always a hard no.
Treadmills are incredibly deceptive. It’s not just that they’re heavy—often tipping the scales at 200 pounds or more—it’s that their weight is all lopsided. The motor end is a dense, heavy block, making the whole thing unstable and ridiculously awkward to lift solo.
Trying to be a hero and move a treadmill by yourself is a fast track to a serious back injury or a hernia. It also makes it about ten times more likely that you’ll drop it, wrecking the machine, your floors, or the drywall. Always, and I mean always, have at least one other strong person to help you out.
Do I Need to Disassemble My Treadmill to Move It?
It’s not always required, but it’s almost always the smartest play. The real question is, what does the path from Point A to Point B look like? If you’re just rolling it across a single, open-concept room with wide doors, you might get away with just folding it.
But for the rest of us in the real world? The one with narrow hallways, tight 90-degree corners, and—the ultimate boss level—stairs? Partial disassembly is your best friend.
- Take off the console. This is step one. It protects the most expensive, fragile part of the treadmill and gets rid of that top-heavy wobble.
- Remove the handlebars/arms. This is the real game-changer. Taking off the upright arms transforms the machine from a giant, clumsy “T” shape into a much simpler, manageable rectangular base that you can actually pivot around corners.
Before you touch a single bolt, find your user manual. Seriously. It will show you exactly how to do it without accidentally snipping a wire harness or stripping a screw you can’t replace.
I can’t tell you how many times we’ve seen people try to “wing it” without taking the arms off. It almost always ends with scuffed paint, dented drywall, and damaged door frames. Spending 20 minutes with a wrench will save you hours of home repairs.
What Is the Best Way to Transport a Treadmill in a Truck?
Getting it into the truck is only half the battle; you need to make sure it arrives in one piece. The best way is to transport it standing up in its folded position, if your model does that.
Shove it right up against the front wall of the truck—the one closest to the cab. This spot has the least amount of bounce and sway. Then, use at least two heavy-duty ratchet straps to lash it tightly to the truck’s anchor points. You want it completely locked down, with zero ability to slide, wiggle, or tip over when the truck inevitably hits a bump or takes a sharp turn.
If you absolutely must lay it down, put it on top of a thick moving blanket to avoid scratches. And here’s the key: make sure the heavy motor end is facing up, not down. This keeps the machine’s own weight from crushing the delicate internal components.
When the job seems too big, or you simply want guaranteed safety for your equipment and home, the experts at Family Movers Express LLC are here to help. Our trained crews handle heavy and awkward items every day. Get a free quote and let us make your move stress-free.
Article created using Outrank
Ready to protect your upcoming move?
Click Here to Fill Out Our Quick Form & Secure Your Instant Quote!
