
Moving out is chaotic, but one of the biggest financial hurdles is securing your full security deposit. Landlords scrutinize every corner, and a single missed spot can cost you hundreds. This is where a detailed apartment move out cleaning checklist becomes your most valuable tool. It transforms a stressful obligation into a clear, manageable process, safeguarding your money and ensuring a smooth transition. For anyone moving in Orlando, Raleigh, or Charlotte, a meticulous clean is standard practice for getting your deposit back in full.
This comprehensive guide is your roadmap to a spotless hand-off, designed to satisfy even the most demanding property managers. We will break down every essential task room-by-room, from degreasing kitchen appliances and sanitizing bathrooms to patching minor wall damage. You will find specific, actionable steps that leave no area overlooked.
Whether you are a DIY expert determined to tackle the job yourself or a busy professional weighing the benefits of hiring a service, this checklist provides the structure you need. We’ll cover what to clean, how to clean it, and the best timeline for getting it all done. Let’s dive in and ensure you walk away from your old apartment with your security deposit firmly in hand.
The kitchen is often the focal point of a move-out inspection, and dirty appliances are one of the most common reasons for security deposit deductions. Deep cleaning your kitchen appliances involves more than a simple wipe-down; it means meticulously removing all built-up grease, baked-on food, and lingering odors from your refrigerator, oven, stovetop, dishwasher, and microwave. This task is crucial because it demonstrates your commitment to returning the apartment to its original condition.
A systematic approach ensures nothing is missed. Start this process after you’ve cleared out all food, which is a key step in any successful move. If you’re coordinating this with your packing schedule, knowing how to handle your kitchen items can make the cleaning phase much smoother. You can find helpful guidance on preparing your kitchen for a move, which complements the cleaning process.
Pro Tip: Always take clear, well-lit photos of your sparkling clean appliances after you’re done. This documentation can be invaluable if a landlord disputes the condition of your apartment and attempts to withhold your deposit.
Walls and trim are scrutinized during move-out inspections, and even minor scuffs or nail holes can lead to hefty charges from your landlord. Addressing damage like dings from furniture, pinholes from decorations, and everyday scuff marks is a critical part of a thorough apartment move-out cleaning checklist. Restoring the walls demonstrates care for the property and significantly increases your chances of receiving a full security deposit refund.
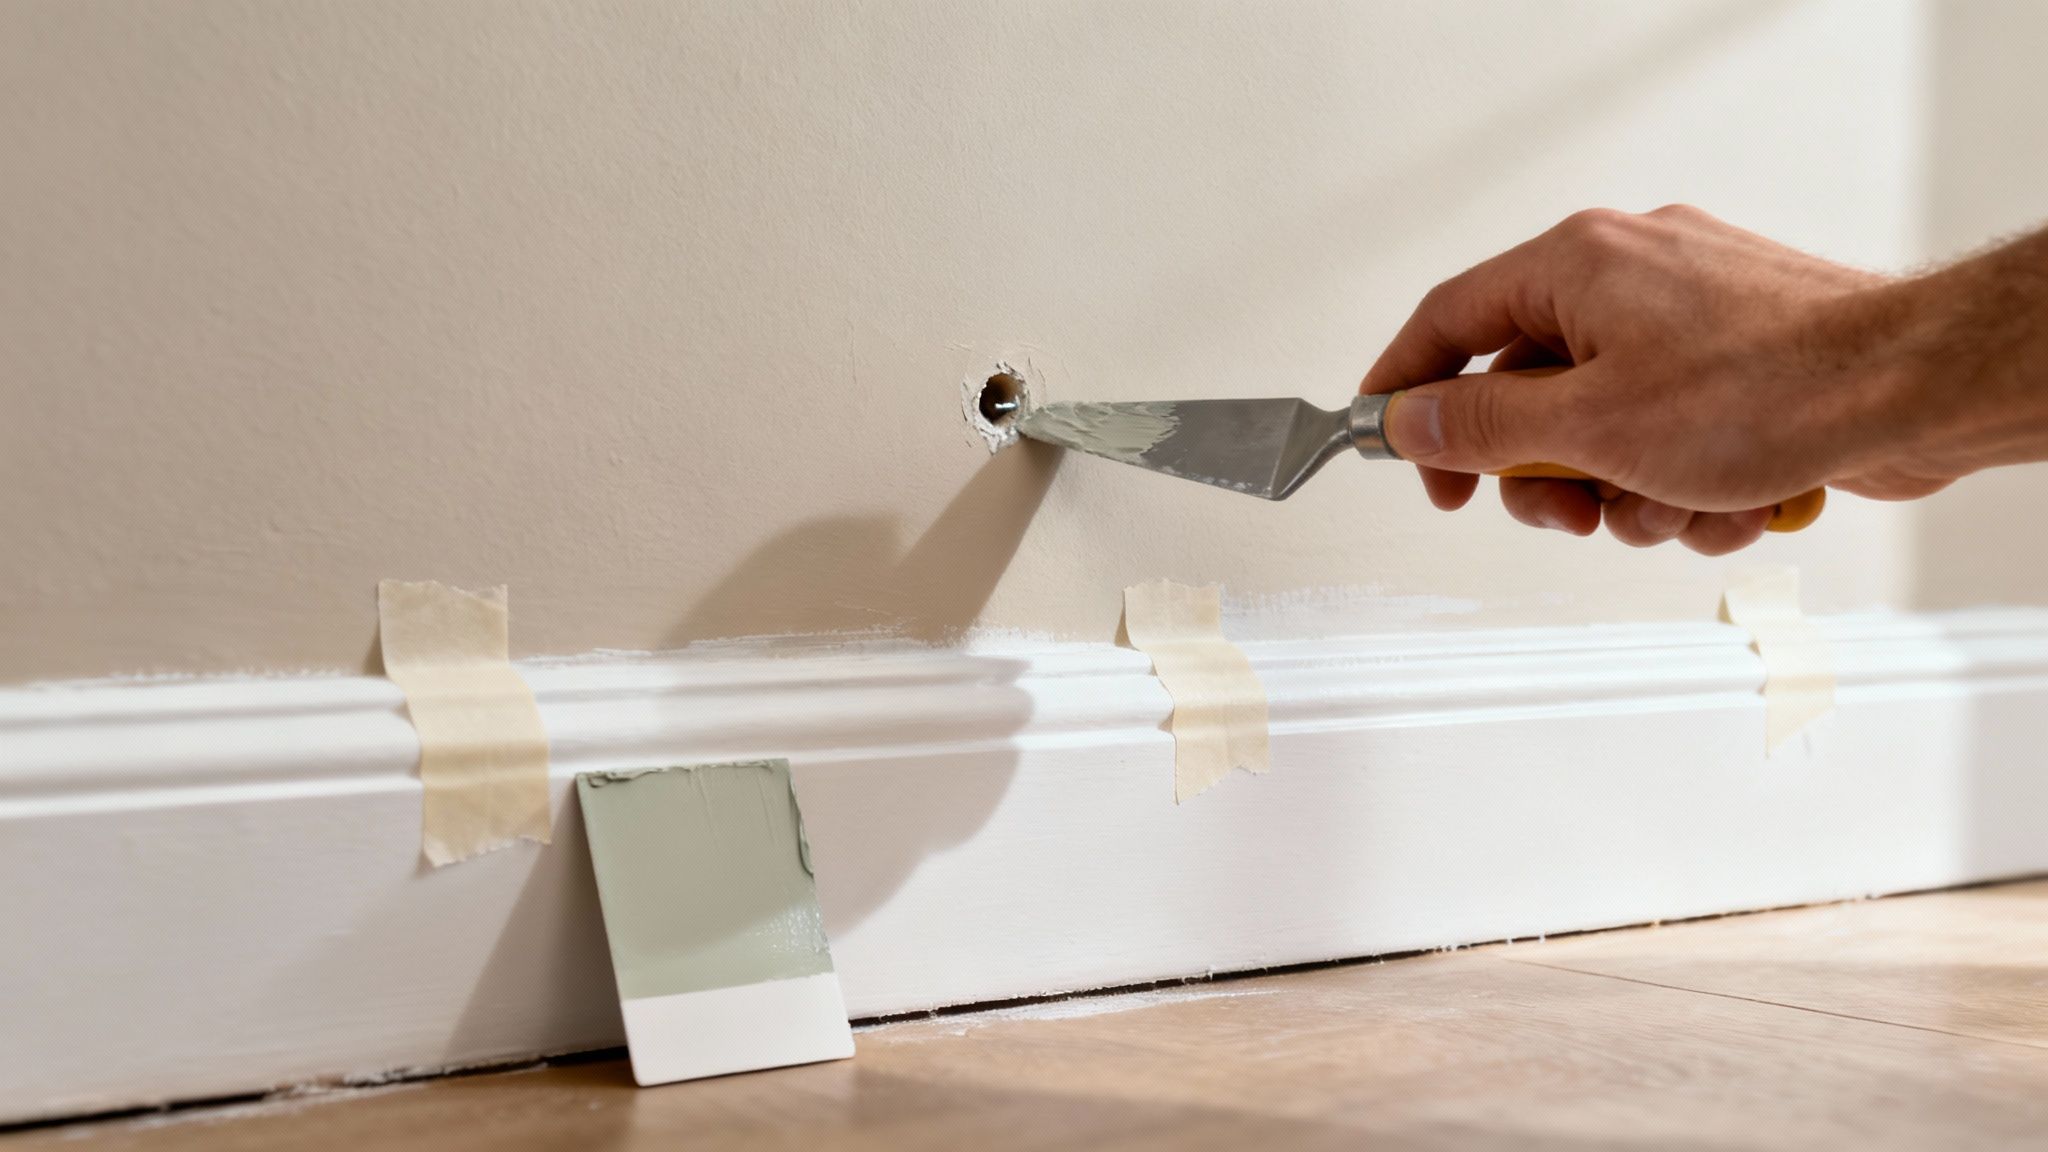
A methodical approach to wall repair ensures a professional-looking finish that will pass inspection. Before starting, it’s wise to ask your landlord or property manager for the exact paint color code or a small sample to ensure a perfect match. Properly preparing your walls is just as important as the cleaning itself; you can learn more about how to get your apartment ready for a move, which includes tasks that complement these repairs.
Pro Tip: Plan your wall repairs and painting for 2-3 days before your final walkthrough. This allows ample time for the paint to fully dry and cure, ensuring there are no tacky spots or fresh paint smells when the landlord inspects the unit.
Along with the kitchen, the bathroom is one of the most scrutinized areas during a move-out inspection. Landlords look closely for signs of mold, mildew, and hard water damage, which can lead to significant security deposit deductions. A thorough deep clean involves sanitizing every surface, from the tile and grout to the fixtures and mirrors, ensuring you eliminate soap scum, mineral deposits, and any potential hygiene concerns. This task is non-negotiable for a successful move-out.
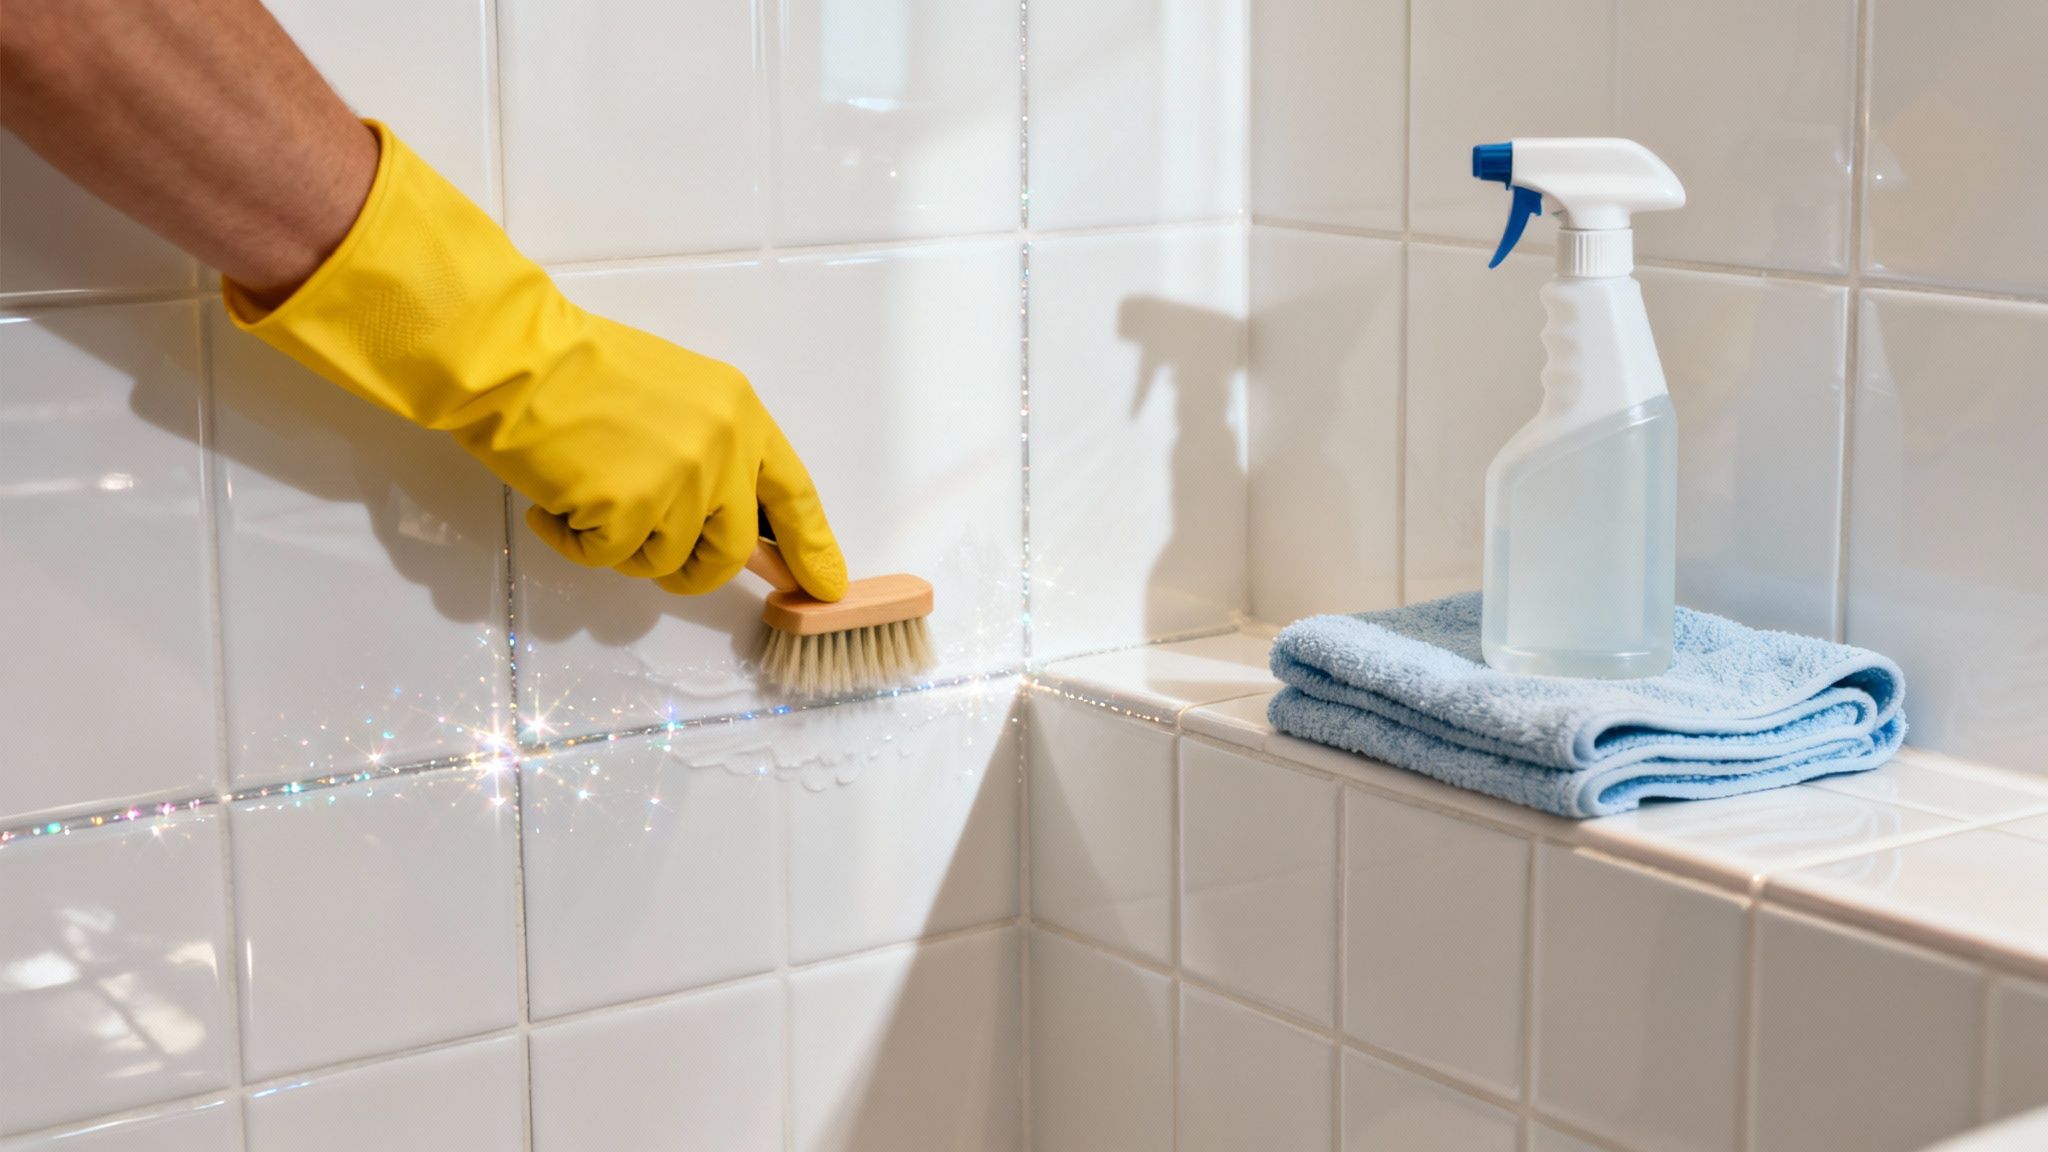
A systematic approach is essential to make sure no spot is missed in your bathroom cleaning. This should be one of the final tasks you complete before your last walkthrough, as it’s a space you’ll likely use until moving day. As you finalize your cleaning, remember to keep track of other important post-move tasks to ensure a smooth transition. You can get more insights on the 10 crucial steps to take following a move to stay organized.
Pro Tip: If the caulk around your tub or sink is stained with black mold or is peeling away, cleaning may not be enough. Replacing it is a low-cost, high-impact fix that shows you’ve properly maintained the unit.
The condition of the carpets is one of the most scrutinized items during a final inspection. Even minor stains, odors, or embedded dirt can lead to significant deductions from your security deposit, as landlords can charge hefty fees for professional cleaning. Addressing carpet issues is not just about vacuuming; it requires a deep, professional-level cleaning to restore the fibers and remove all traces of residency, making it a critical step in your apartment move out cleaning checklist.
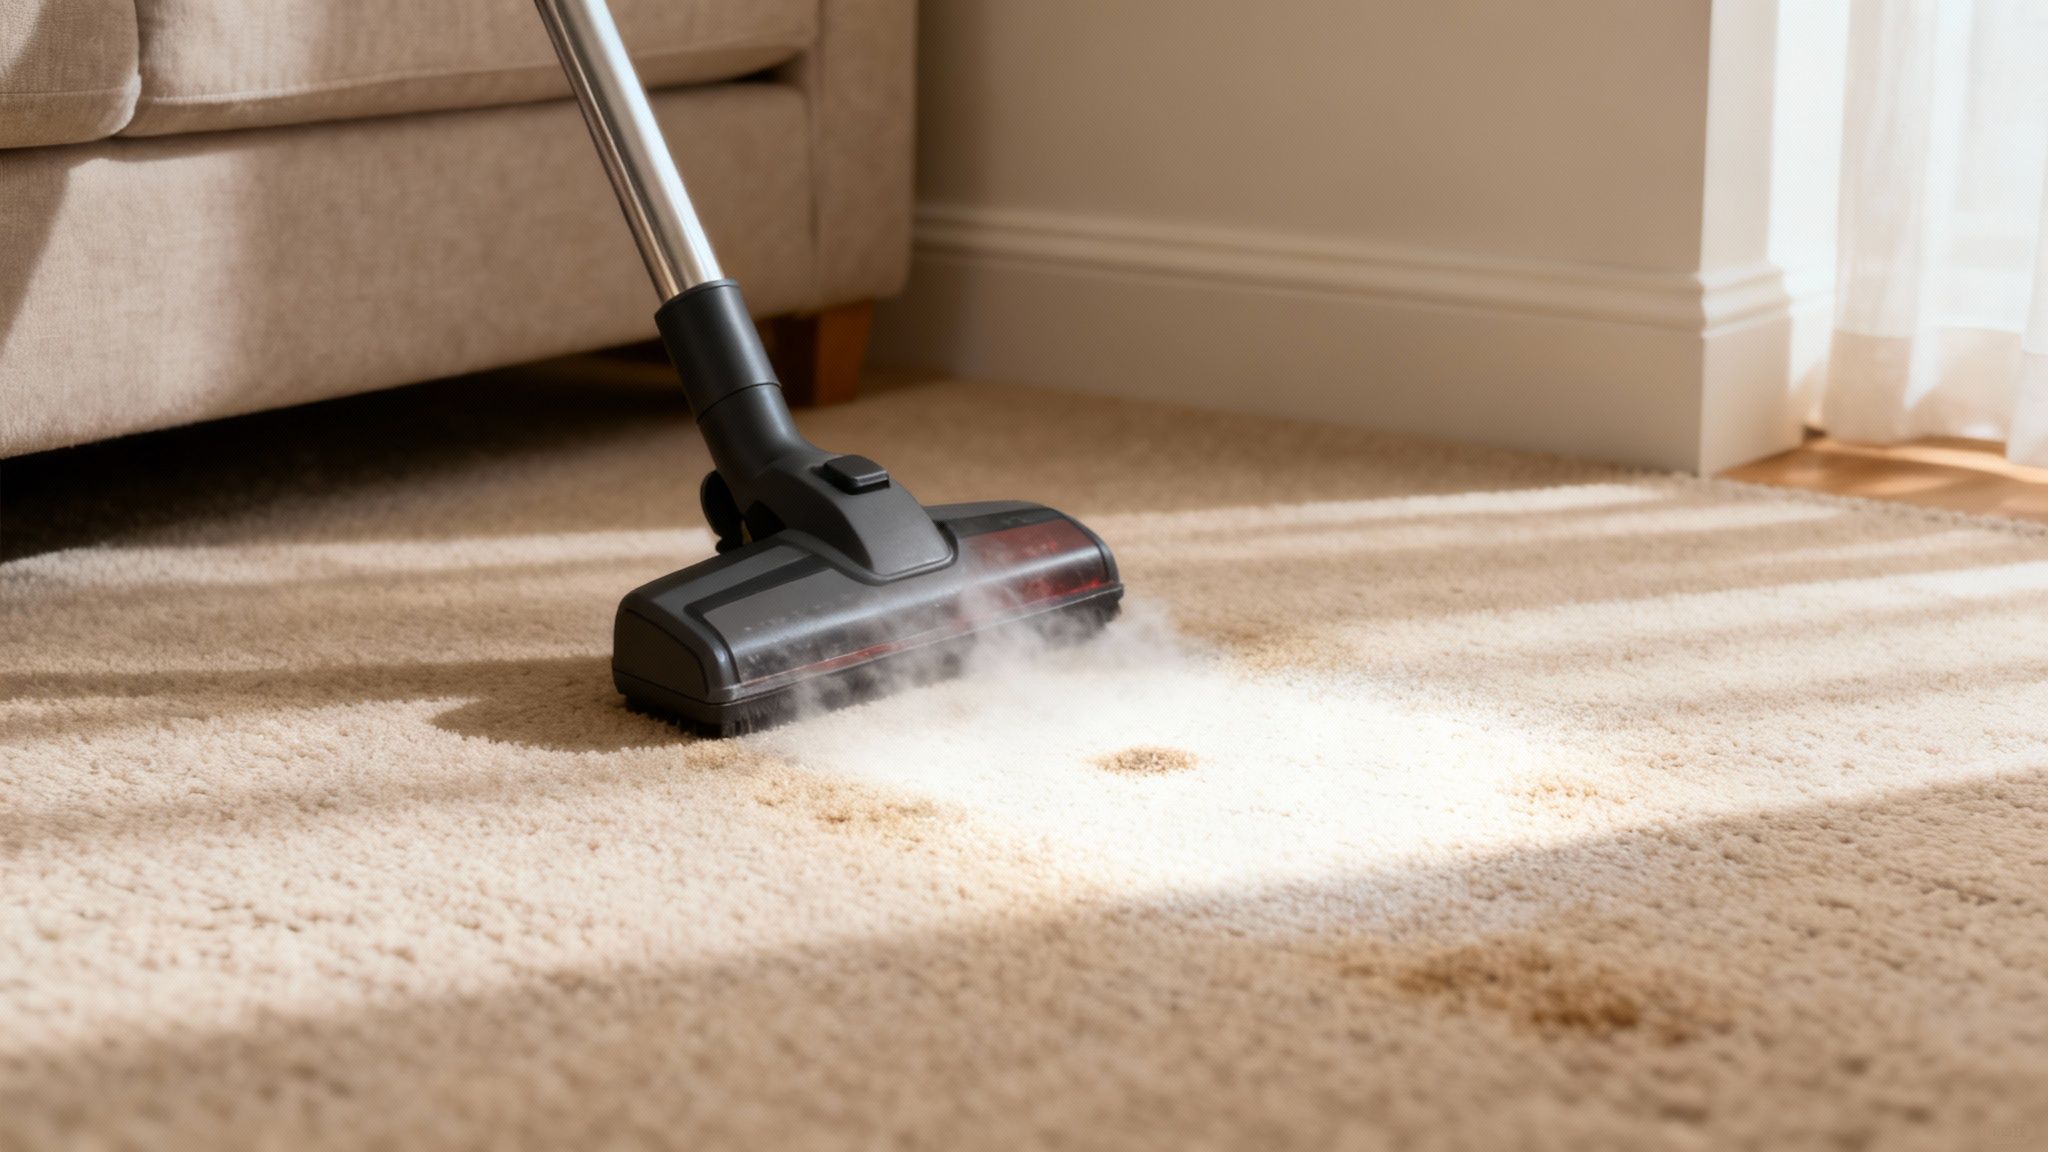
A proactive and methodical approach will yield the best results. Start by thoroughly vacuuming the entire area to remove loose dirt and debris. This should be done after all furniture has been moved out, which can be a task in itself. For helpful strategies, you can find information on how to handle moving heavy furniture, which ensures your carpets are clear and ready for deep cleaning.
Pro Tip: Check your lease agreement. Some landlords require tenants to have carpets professionally cleaned and to provide a receipt as proof. Knowing this in advance can save you time and prevent disputes over your deposit.
Floors endure daily wear and tear, and their condition is one of the most visible indicators of how well a tenant has maintained the property. A thorough floor cleaning and polishing goes beyond a simple sweep; it involves meticulously removing all accumulated dirt, dust, stubborn scuffs, and stains from every hard surface, including hardwood, laminate, vinyl, and tile. This step is a critical part of any comprehensive apartment move out cleaning checklist because sparkling floors can significantly influence a landlord’s final inspection and the full return of your security deposit.
A one-size-fits-all approach doesn’t work for flooring. Using the wrong cleaner or technique can cause damage, so it’s essential to tailor your method to the specific material in each room. Always tackle floors last, after all other cleaning and dusting are complete, so you don’t have to clean them twice.
Pro Tip: After mopping, allow floors to air dry completely without walking on them. This prevents new footprints or smudges. Open windows or use fans to speed up the process before you conduct your final walkthrough and take photos.
Spotless windows, mirrors, and glass doors can dramatically brighten a space, making it feel cleaner and more inviting for the next tenant. This task is often overlooked in a standard cleaning routine, but landlords frequently check these surfaces during the final walkthrough. Neglecting built-up grime, fingerprints, and streaks on glass can lead to frustrating and easily avoidable deductions from your security deposit, so thoroughness here is key.
A methodical approach ensures that every glass surface, from the largest sliding door to the smallest bathroom mirror, is perfectly clear. It’s best to tackle windows on an overcast day, as direct sunlight can cause your cleaning solution to dry too quickly, leaving behind stubborn streaks. This step is a vital part of any comprehensive apartment move out cleaning checklist.
Pro Tip: If you encounter stubborn sticker residue or adhesive on the glass, apply a product like Goo Gone or a small amount of rubbing alcohol. Let it sit for a minute before gently scraping it away with a plastic scraper or an old credit card to avoid scratching the surface.
Often overlooked in the chaos of moving, comprehensive dusting and vacuuming form the foundation of a truly clean apartment. This task involves more than a quick pass over the floors; it requires systematically removing all accumulated dust, cobwebs, pet dander, and allergens from every surface, nook, and cranny. Landlords frequently check areas like baseboards, window sills, and light fixtures, making this step a critical part of any successful apartment move out cleaning checklist.
A methodical, top-to-bottom approach is the most efficient way to ensure you capture all dust without re-dirtying cleaned areas. Start this process after the apartment is completely empty, as furniture and boxes can trap and hide significant amounts of debris. This systematic removal of dust is essential before you begin any wet cleaning, like mopping floors or wiping down walls.
Pro Tip: Always dust before you vacuum or mop. Dusting from the top down ensures that any dislodged particles fall to the floor, where they can be easily cleaned up in the final vacuuming and mopping stages, saving you from having to clean the same area twice.
Leaving behind any trash, debris, or unwanted personal items is a common and easily avoidable reason for losing part of your security deposit. Proper trash removal and disposal means ensuring the apartment is completely empty, from the last stray sock to large pieces of furniture you’re not taking with you. This final sweep is a non-negotiable step in your apartment move out cleaning checklist and a clear signal to your landlord that you’ve respected the property.
A strategic approach to decluttering and disposal well before your move-out day prevents a last-minute panic. As you pack, categorize every item you don’t intend to keep as either “donate,” “sell,” or “discard.” This not only simplifies the final cleanout but can also put a little extra cash in your pocket or help a local charity.
Pro Tip: After you’ve removed every last item and bag of trash, do a final walkthrough and take photos of each empty room, closet, and cabinet. This visual evidence proves you left the unit completely cleared, protecting you against potential claims.
| Item | Complexity 🔄 | Resources & Cost ⚡ | Expected Outcomes 📊⭐ | Ideal Use Cases | Key Tips 💡 |
|---|---|---|---|---|---|
| Deep Clean Kitchen Appliances | High — detailed disassembly, 2–4 hrs; risk to components | Moderate–High — degreasers, tools or pro service; $15–150 | High ⭐ — removes grease, restores function, improves inspection results | Move-out inspections, heavily soiled kitchens, appliance maintenance | Use commercial degreasers, let solutions sit, remove shelves, photograph results |
| Wall and Trim Repair and Repainting | Moderate — spackling, sanding, painting; 3–6 hrs plus drying | Low–Moderate to High — spackle/paint or pro painter; $30–500 | High ⭐ — restores appearance, avoids deduction charges | Nail holes, scuffs, color touch-ups before move-out | Confirm paint color, use fast-dry spackle, tape trim, allow full drying |
| Bathroom Deep Cleaning and Sanitization | Moderate — intensive scrubbing, 2–3 hrs; possible mold remediation | Low–Moderate — cleaners, brushes or pro service; $20–300 | High ⭐ — eliminates mold/soap scum, improves hygiene and inspection outcomes | Bathrooms with mold, hard-water stains, or heavy soap scum | Use grout brush/CLR, ventilate, replace damaged caulk, consider pros for mold |
| Carpet Cleaning and Stain Removal | Moderate — equipment use and drying time; 2–12 hrs | Moderate–High — rental or pro service; $50–600 | High (variable) ⭐ — removes many stains/odors but some stains may be permanent | Pet stains, heavy traffic areas, pre-inspection carpet refresh | Blot not rub, use enzyme cleaners for organic stains, schedule early for drying |
| Floor Cleaning and Polishing | Low–Moderate — method varies by floor type; 1.5–3 hrs | Low — cleaners, mop, polish or pro buffing; $15–300 | High ⭐ — immediate visual improvement, prevents deductions | Hardwood, tile, laminate floors needing shine and scuff removal | Use pH-neutral cleaners, avoid excess water, clean floors last |
| Window and Glass Cleaning | Low — technique-sensitive; exterior adds risk; 1–2 hrs | Low — squeegee/microfiber or pro exterior service; $10–250 | High ⭐ — increases brightness and inspection impression | Apartments with visible smudges, showings, skylights | Clean on overcast days, use squeegee, microfiber or newspaper for streak-free finish |
| Dust and Vacuum All Areas | Low–Moderate — systematic top-to-bottom; 2–4 hrs | Low — microfiber cloths, HEPA vacuum, dusters; $20–300 | High ⭐ — foundational cleanliness and better air quality | General prep before other cleaning tasks and inspections | Dust top-to-bottom, use HEPA vacuum, extension wands for high areas |
| Trash Removal and Disposal | Low–Moderate — physical and logistical effort; 2–5 hrs | Variable — curb pickup, dumpster, or junk service; $50–800 | High ⭐ — required for compliance, prevents odors and pests | Final move-out, bulky-item removal, hazardous waste disposal | Schedule pickups, separate donate/sell/discard, document empty apartment photos |
As you stand in your now-empty apartment, surveying the results of your hard work, you’re on the final stretch to securing your full security deposit. This comprehensive apartment move out cleaning checklist was designed not just as a to-do list, but as a strategic guide to navigating one of the most financially critical aspects of moving. From degreasing the oven to scrubbing the baseboards, each task completed is a direct investment in your deposit return.
The true value of this process lies in its thoroughness. Landlords and property managers conduct inspections with a fine-toothed comb, looking for the very details we’ve covered, like clean window tracks, sanitized bathroom fixtures, and scuff-free walls. By following this guide, you have systematically addressed their primary concerns, transforming potential deductions into a successful checkout.
To crystallize the most vital points, remember these core principles as you prepare for the final inspection:
With the cleaning complete, your next steps are simple but crucial. First, schedule your final walkthrough with the landlord, ideally during daylight hours for the best visibility. Walk through the unit together, using your photo documentation as a reference. Have a copy of your move-in condition report on hand to cross-reference any notes.
Finally, consider the value of your time and energy. If the stress of deep cleaning on top of packing, logistics, and starting a new chapter feels overwhelming, professional help is a smart investment. Hiring a move-out cleaning service often costs less than the potential deposit deductions and frees you to focus on the excitement of your new home. This isn’t an admission of defeat; it’s a strategic decision to guarantee a return and save yourself valuable time.
Ultimately, mastering your move-out cleaning is about more than just getting your money back. It’s about ending your tenancy on a positive, professional note and transitioning smoothly to your next adventure, leaving behind a space that is ready for its next resident.
Now that you’ve mastered the apartment move out cleaning checklist, let the professionals handle the heavy lifting. Family Movers Express LLC provides reliable, stress-free moving services across the East Coast, ensuring your belongings arrive safely while you focus on settling in. Visit Family Movers Express LLC to get a free quote and make your next move your easiest one yet.
Ready to protect your upcoming move?
Click Here to Fill Out Our Quick Form & Secure Your Instant Quote!